
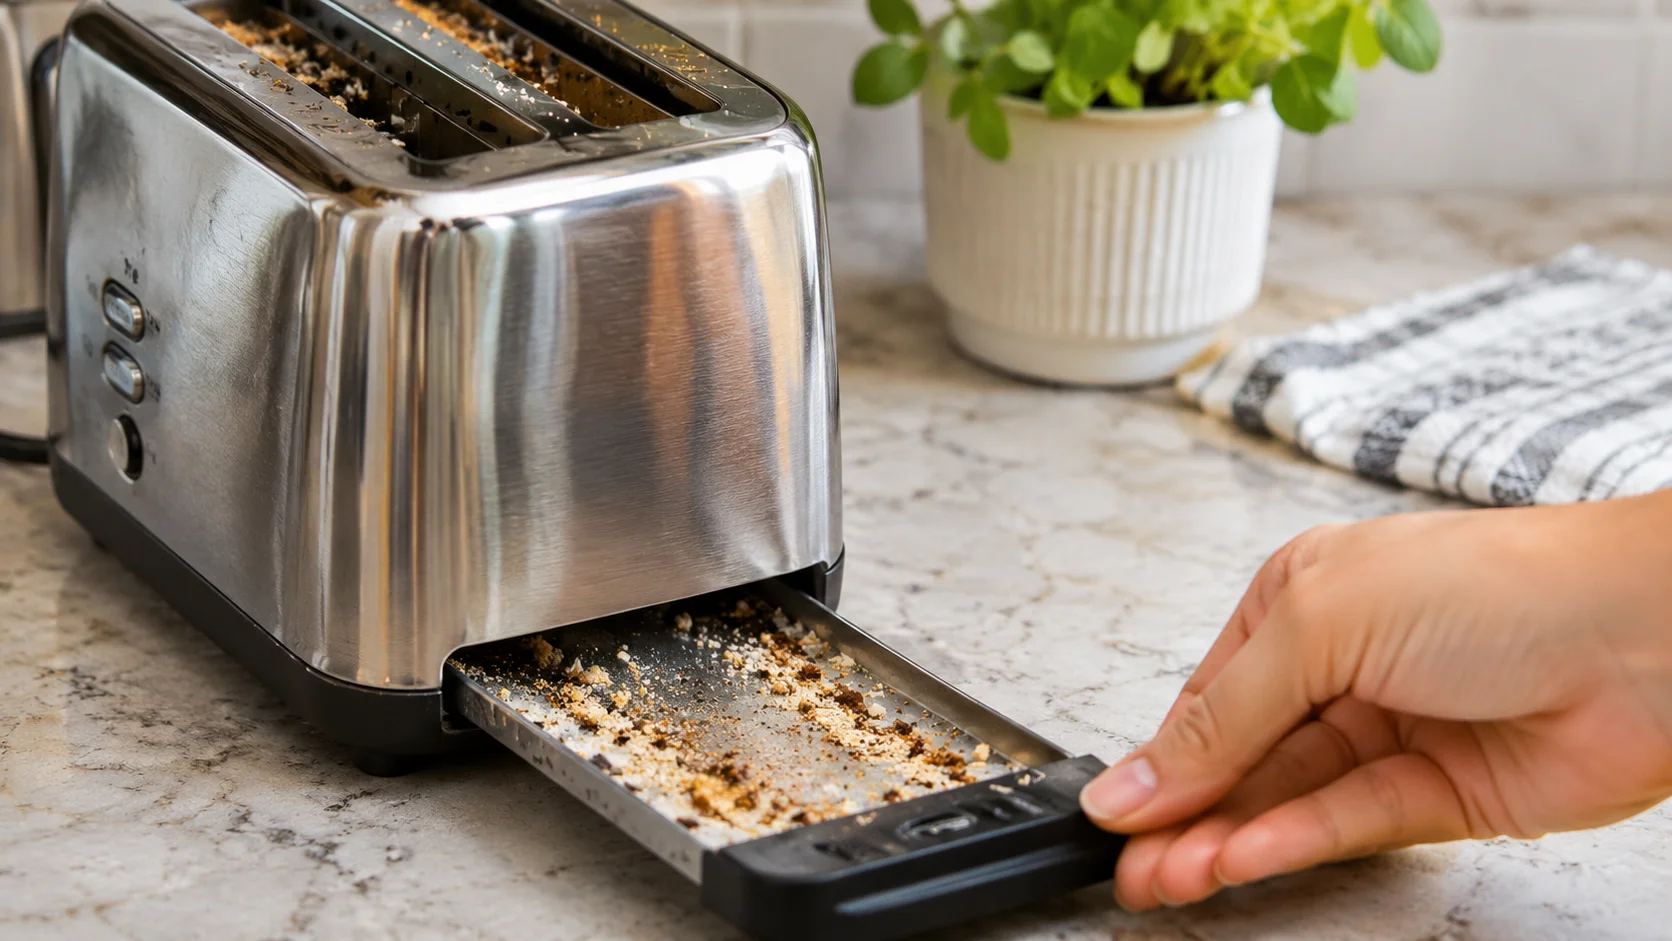
A toaster makes breakfast quick and convenient, but crumbs, burnt bread, and grease can gradually collect inside the appliance. Over time, this buildup may cause unpleasant smells, smoke during toasting, and uneven results. A toaster oven can develop similar problems as crumbs fall onto the bottom tray and oily splashes accumulate on its walls, racks, and glass door.
The good news is that cleaning a toaster does not require expensive products or complicated equipment. With a soft brush, a damp cloth, mild dish soap, and a little patience, you can remove everyday debris and restore a cleaner cooking surface. However, the process must be handled carefully because a toaster contains electrical components and exposed heating elements that can be damaged by water, abrasive tools, or improper cleaning.
This guide explains how to clean a pop-up toaster, how to clean the inside of a toaster oven, and how to tackle stubborn grease and burnt-on residue. You will also find advice for stainless steel appliances, crumb trays, glass doors, and popular brands such as Breville, Dualit, Ninja, Cuisinart, and KitchenAid. Most importantly, you will learn which cleaning methods are safe and which mistakes to avoid. Let’s learn how to clean a toaster and toaster oven safely.
Why You Should Clean Your Toaster Regularly
Every time bread is toasted, small crumbs can fall into the appliance. Repeated heating may turn these crumbs dark and brittle, while butter, cheese, and other food residues can leave grease inside a toaster oven. If the buildup is ignored, the appliance may develop a burnt smell or release smoke when heated.
Regular cleaning also makes it easier to notice damaged cords, loose parts, or unusual residue before they become bigger concerns. A clean crumb tray helps prevent old food particles from accumulating near hot components. Cleaning the exterior keeps fingerprints, kitchen dust, and grease from dulling the appliance’s finish.
Most importantly, cleaning should always be performed with the toaster disconnected from power. Never pour water into a pop-up toaster or immerse the appliance in a sink. Its internal electrical components are not designed to be washed like ordinary kitchen utensils.
Signs Your Toaster Needs Cleaning
Look for these common signs that your appliance needs attention:
- Crumbs spill out when you move or lift the toaster.
- Burnt bread smells linger after toasting.
- Smoke appears during normal use.
- Grease or dark residue coats the inside of a toaster oven.
- The crumb tray has a thick layer of old debris.
- Food particles stick to the oven rack or baking pan.
- Fingerprints and grease make the exterior look dull.
- The glass door has cloudy splashes or baked-on spots.
If smoke continues after the appliance has cooled and been cleaned, or if you notice sparks, damaged wiring, or a burning electrical smell, stop using it and consult the manufacturer’s support service.
Jump into Other Related Article
- Best Deck Stain and Sealer | Complete Guide for Pressure Treated, Cedar, Old, and Full Sun Decks
- Best Tub Cleaner | 7 Effective Options for Soap Scum, Hard Water, and Tough Stains
- How to Clean Floor Tile Grout Without Scrubbing | Easy, Low-Effort Methods
What You Need to Clean a Toaster
You can clean most household toasters with supplies you already have in the kitchen. The goal is to loosen debris without scratching surfaces or allowing moisture to reach electrical parts.
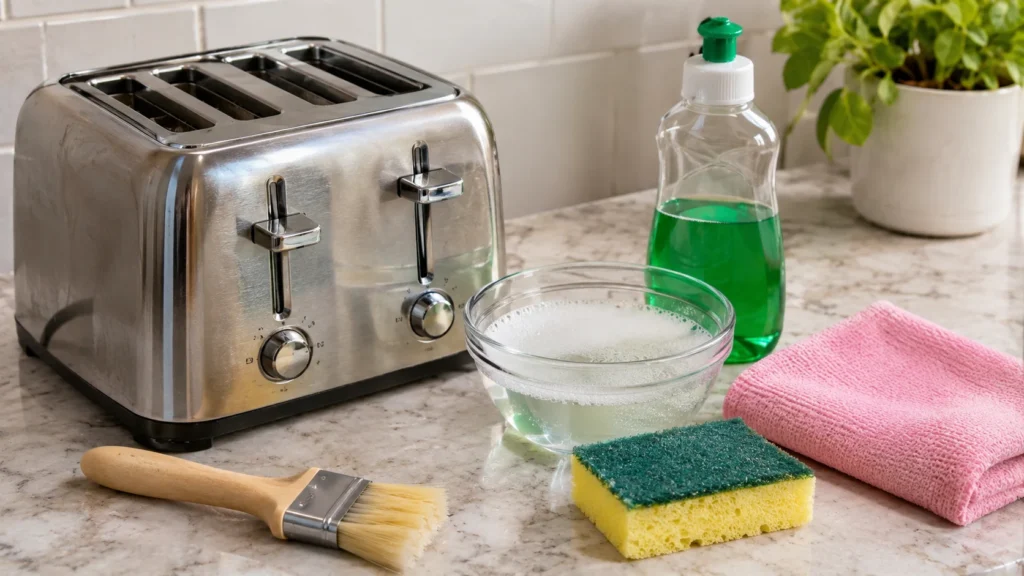
Prepare the following items before starting:
- A soft, dry pastry brush or small cleaning brush
- A microfiber cloth
- Mild dishwashing liquid
- Warm water
- A nonabrasive sponge
- A small bowl for soapy water
- A soft toothbrush for accessible crevices
- A dry towel
- A suitable nonabrasive cleaner for stainless steel, if approved by the manufacturer
You may also need a sink for washing a removable crumb tray or toaster-oven rack. Make sure removable parts are fully dry before reinstalling them.
Should You Use Baking Soda or Vinegar?
Baking soda can help with certain greasy or stained toaster-oven surfaces when the manufacturer permits it, but it should not be allowed to enter slots, vents, heating elements, or electrical openings. Its mild abrasive texture may also scratch delicate finishes if rubbed aggressively.
Vinegar is not necessary for routine toaster cleaning. Avoid spraying it into the appliance or using it on surfaces for which the manufacturer does not recommend it. For everyday dirt, mild dish soap and a damp cloth are usually sufficient. Never mix cleaning products, particularly bleach with vinegar or other acids.
How to Clean a Pop Up Toaster Step by Step
A pop-up toaster needs a different approach from a toaster oven because its narrow slots contain electrical components and heating wires. You should never submerge it, run water through the slots, or insert metal objects into the openings. The safest method is to remove loose crumbs first, clean removable parts separately, and wipe the outside with minimal moisture.
Step 1: Unplug the Toaster and Let It Cool
Switch off the toaster and unplug it from the wall outlet. If you have just used it, wait until the appliance has cooled completely before handling it. This reduces the risk of burns and prevents moisture from contacting hot components.
Move the toaster to a stable, dry countertop with enough room to work. Keep the power cord away from the sink and any damp cleaning materials. If the cord is frayed or the plug looks damaged, do not reconnect the toaster until it has been inspected or replaced appropriately.
Step 2: Remove and Empty the Crumb Tray
Most pop-up toasters have a removable tray near the bottom. Slide it out according to the manufacturer’s instructions and empty the crumbs into a trash can. Avoid shaking the toaster aggressively, as this can damage internal mechanisms or spread crumbs into hard-to-reach areas.
If the tray is greasy, wash it separately with warm water and mild dish soap, provided the manual permits washing. Rinse it thoroughly and dry it completely before putting it back. Never reinstall a wet tray, because moisture and leftover soap can create problems when the appliance is powered again.
If your toaster has no removable crumb tray, check its manual for the recommended cleaning procedure rather than trying to pry open the base.
Step 3: Remove Loose Crumbs From the Interior
With the toaster unplugged and cool, turn it upside down over a trash can and gently shake it to release loose crumbs. Use controlled movements instead of banging the appliance against a counter. Some crumbs may remain inside, so a soft, dry brush can help remove debris from accessible areas.
Never insert a knife, fork, metal skewer, or other metal object into the toaster slots. Metal can contact heating elements or electrical parts and cause injury or damage. Avoid forcing a brush into narrow spaces where it could bend or snag the internal wires.
Step 4: Clean Accessible Interior Areas Carefully
Use a small, soft, dry brush to loosen crumbs from accessible areas that the manufacturer permits you to clean. Work gently around the slots and avoid touching or bending the heating elements. Do not use a wet toothbrush, spray cleaner, or damp cloth inside the toaster.
If burnt residue remains around an internal component that cannot be safely reached, do not dismantle the appliance unless the manufacturer specifically provides a user-serviceable procedure. Persistent burning smells, visible damage, or unusual sparking should be handled by a qualified service professional.
Step 5: Wipe the Exterior and Reassemble
Dampen a microfiber cloth with a small amount of water and mild dish soap. Wring it out thoroughly so it is not dripping, then wipe the outside surfaces. Keep liquid away from the slots, controls, openings, plug, and power cord.
For stubborn fingerprints on stainless steel, use a cleaner approved for that finish and follow the grain when wiping. Dry the exterior with a clean cloth, reinstall the completely dry crumb tray, and check that the appliance is assembled correctly. Do not plug the toaster back in until every cleaned component is dry.
How to Clean a Toaster Oven
A toaster oven has a larger cooking cavity, removable racks, and often a baking tray or crumb tray. Grease and food splashes can accumulate on the walls and glass door, especially when you cook cheese, oily foods, or crumbs-covered snacks. Cleaning the appliance regularly helps reduce lingering odors and makes later maintenance easier.
Always unplug the toaster oven and let it cool completely before cleaning. Check the owner’s manual for any restrictions on cleaning products, removable accessories, nonstick coatings, and self-cleaning features. Unless your model explicitly supports a particular cleaning cycle, do not assume it can be treated like a full-size oven.
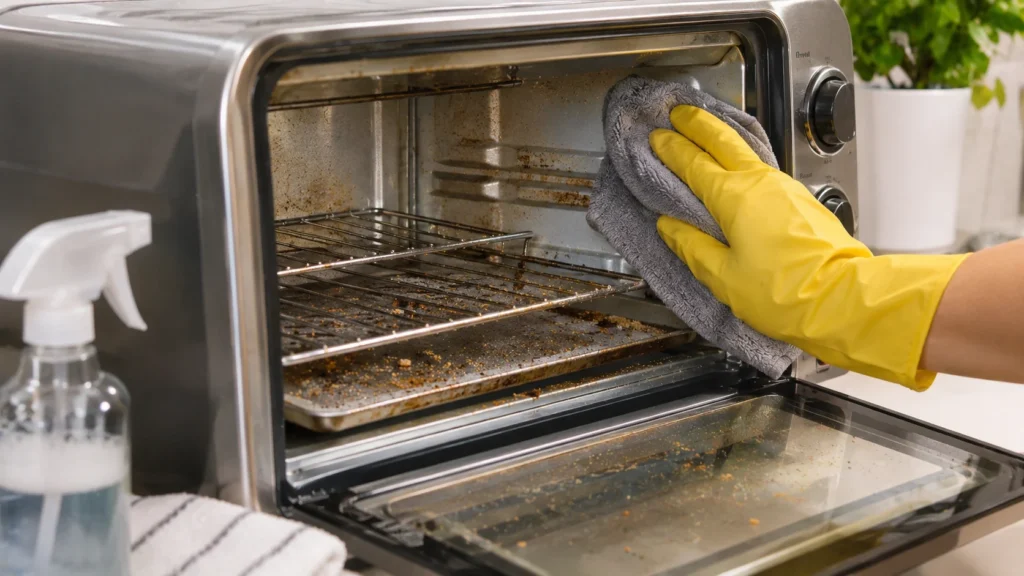
Step 1: Remove Racks, Pans, and Trays
Take out the oven rack, baking pan, air-fryer basket, and crumb tray if they are removable. Consult the manual before washing accessories, particularly those with nonstick coatings. Some parts may be dishwasher-safe, while others require handwashing.
Soak suitable removable metal accessories in warm, soapy water to loosen food residue. Use a soft sponge to remove grease and avoid steel wool or harsh scouring pads, which can scratch coatings. Rinse and dry each part completely before reinstalling it.
Step 2: Clean the Interior Walls and Bottom
Brush loose crumbs into the crumb tray or remove them with a soft brush. Wipe the accessible interior surfaces with a lightly damp cloth and mild dish soap, taking care not to wet heating elements, fans, vents, or electrical connections.
For stuck-on food, hold a damp cloth against the residue for a short time to soften it, then wipe gently. Do not scrape the cavity with a knife or metal tool. If your appliance has a nonstick interior, use only the cleaning method approved by its manufacturer.
Step 3: Clean the Toaster Oven Glass Door
Wait until the glass is completely cool before wiping it. Use a microfiber cloth dampened with warm water and a little dish soap to remove grease and fingerprints. Wipe again with a clean, lightly damp cloth if needed, then dry the glass to reduce streaks.
Avoid spraying cleaner directly onto the door, especially near hinges, seals, vents, or electrical controls. Do not use abrasive pads or sharp scrapers unless the manufacturer specifically approves them for that glass surface. Heavy baked-on residue may require repeated gentle cleaning rather than aggressive scrubbing.
Step 4: Dry Everything Before Reconnecting
Check the cavity, door, rack supports, and crumb tray for remaining moisture. Allow all removable components to dry completely before putting them back. If the manual recommends a specific drying period, follow that instruction.
Make sure the tray is seated correctly and that no cloth fibers, crumbs, or cleaning materials remain inside. Reconnect the appliance only when it is completely dry and there are no signs of damage. If cleaning reveals a cracked component, damaged cord, or other safety concern, do not use the toaster oven until the issue is addressed.
How to Clean a Really Dirty or Greasy Toaster Oven
Heavy grease and burnt food can be harder to remove than everyday crumbs. The most effective approach is to soften the residue first, then clean in small sections instead of scrubbing the entire appliance aggressively. This helps protect coatings, glass, and delicate heating components.
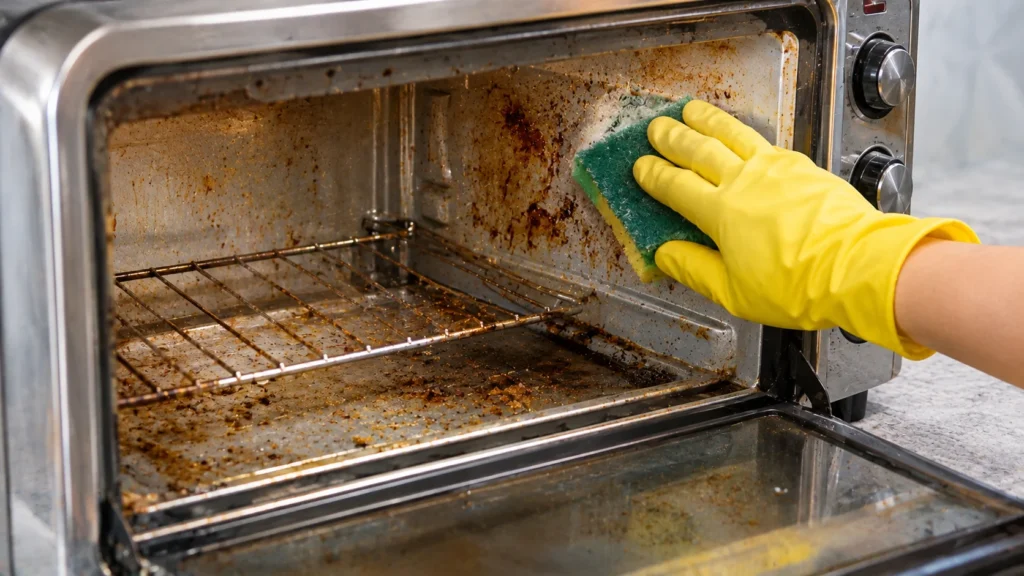
Use Warm, Soapy Water for Grease
For removable trays and racks that are approved for washing, warm water and dish soap can loosen oily residue. Allow suitable parts to soak, then use a nonabrasive sponge to remove the softened buildup. Avoid soaking any component that contains electrical parts or is not designed to be immersed.
For the oven cavity, use a lightly damp cloth rather than pouring water inside. Wipe one section at a time and repeat as needed. Never allow liquid to pool around the heating elements, fan, vents, or electrical connections.
Treat Burnt-On Food Gently
If food is firmly attached to an approved, non-sensitive surface, place a warm, damp cloth over the spot briefly to help soften it. Wipe away the loosened residue and repeat if necessary. Do not scrape heating elements or use sharp tools to remove burnt particles.
A small amount of baking soda may be suitable for certain removable trays or approved interior surfaces, but check the manual first. Test cautiously on an inconspicuous area where appropriate, and rinse away all residue without allowing powder or moisture to enter openings.
What If the Toaster Smells Burnt After Cleaning?
A mild burnt-food odor may come from crumbs that remain in inaccessible areas. Unplug the appliance, let it cool, and repeat the recommended dry crumb-removal procedure. For a toaster oven, inspect the removable tray and accessible cooking surfaces for missed food debris.
If the smell persists, or you notice sparks, smoke unrelated to food residue, melting plastic, or a burning electrical odor, stop using the appliance. Do not attempt to mask the smell with fragrance or run repeated heating cycles to burn away residue. Contact the manufacturer or a qualified repair professional.
How to Clean Different Toaster Brands
Cleaning recommendations vary depending on the model, materials, and heating system. The following brand-specific notes are starting points; the owner’s manual should determine which parts can be removed, which products are suitable, and how the appliance should be reassembled.
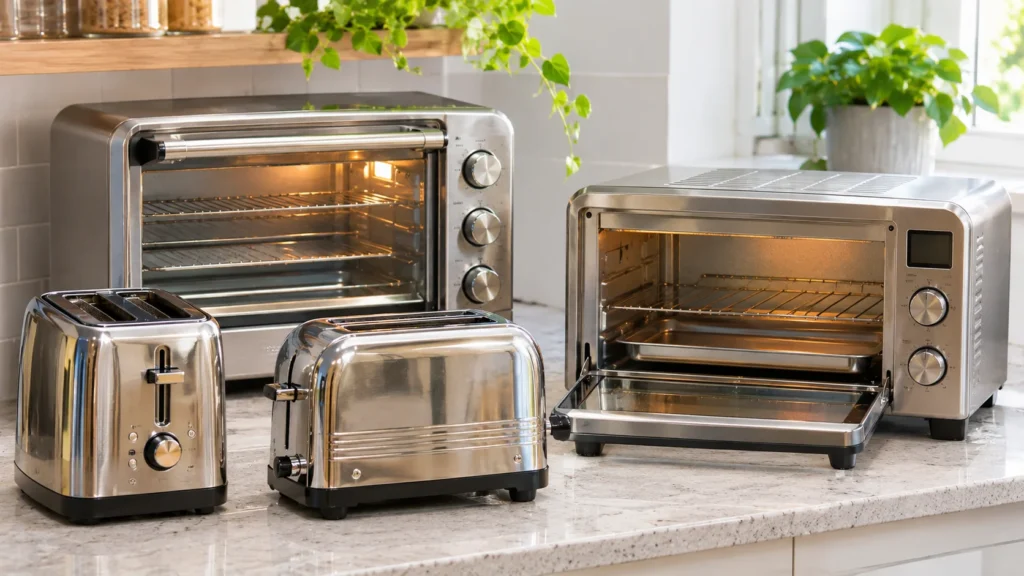
Breville Toaster Oven
Breville toaster ovens may have multiple accessories, including racks, trays, and air-frying baskets, depending on the model. Unplug the appliance, allow it to cool, and remove only the accessories identified as removable in the manual. Clean approved parts separately and wipe the interior gently without soaking the heating elements or fan area.
For models with a nonstick coating, avoid abrasive tools and unapproved cleaners. Check the instructions for your particular Breville model before using baking soda or other cleaning products.
Dualit Toaster
Dualit makes several toaster designs, and the correct cleaning method depends on the model. If your toaster has a removable crumb tray, empty and clean it according to the manual. Remove loose crumbs carefully and wipe the exterior with a suitable cloth, keeping moisture out of the slots and electrical openings.
Do not assume that a particular internal component is user-removable simply because another Dualit model has a similar design. Refer to the official instructions before attempting deeper cleaning.
Ninja, Cuisinart, and KitchenAid Toaster Ovens
These brands offer different countertop appliances, and their accessories and coatings are not necessarily interchangeable. Begin by checking the model’s instructions for removable trays, racks, baskets, and approved cleaning products. Use mild dish soap for washable accessories when permitted, and a lightly damp cloth for accessible interior surfaces.
For convection and air-fryer models, pay particular attention to the fan area and airflow openings. Do not spray liquids into the fan or heating system, and avoid dismantling components unless the manufacturer provides a safe procedure.
Stainless Steel Toasters
Stainless steel exteriors can usually be cleaned with a soft microfiber cloth and a suitable mild cleaner. Wipe along the direction of the metal grain where visible, then dry the surface to reduce streaks and water marks.
Avoid steel wool, rough scouring pads, and abrasive powders that may scratch the finish. Keep cleaners away from openings and controls, and check the manufacturer’s recommendations before applying polish or specialty stainless steel products.
15 Tips for Keeping Your Toaster Clean Longer
Small habits can reduce crumb buildup and make deep cleaning less demanding. Use these practical tips to maintain your toaster or toaster oven without damaging its surfaces.
- Unplug before cleaning. Never clean a powered toaster or toaster oven.
- Let the appliance cool completely. Hot surfaces can cause burns and damage cleaning cloths.
- Empty the crumb tray regularly. Do not wait until crumbs pile up.
- Brush away loose crumbs gently. Use a soft, dry brush on accessible areas.
- Avoid metal tools inside toaster slots. They can damage heating elements or create an electrical hazard.
- Keep water out of the interior. Never immerse a pop-up toaster or pour liquid into the cavity.
- Use mild dish soap for routine cleaning. Strong chemicals are rarely needed for everyday dirt.
- Dry removable parts thoroughly. Reinstall trays and racks only when they are dry.
- Clean spills after the appliance cools. Fresh residue is often easier to remove than baked-on grease.
- Check the manual before using baking soda. Some finishes and coatings may be unsuitable for abrasive cleaners.
- Avoid spraying cleaners directly into the appliance. Apply approved cleaner to a cloth instead.
- Clean the glass door with a soft cloth. Abrasive pads can scratch glass or damage coatings.
- Do not block vents. Keep crumbs, cloths, and cleaning materials away from airflow openings.
- Inspect the cord and plug. Stop using the appliance if you notice damage.
- Create a regular cleaning routine. Empty crumbs frequently and clean removable accessories as needed.
Common Toaster-Cleaning Mistakes to Avoid
Even a simple cleaning task can cause damage if the wrong method is used. Avoiding a few common mistakes will help protect the appliance and reduce safety risks.
Never Immerse a Pop-Up Toaster in Water
A pop-up toaster contains electrical parts that are not designed for immersion. Water can remain trapped inside and create a shock hazard when the appliance is powered again. Clean its exterior with a wrung-out cloth and remove crumbs using the method specified by the manufacturer.
Do Not Scrub Heating Elements
Heating wires and other internal components can be delicate. Scraping them with a knife, stiff metal brush, or abrasive pad may cause damage. If residue cannot be removed using the approved method, consult the manufacturer’s support guidance rather than forcing it loose.
Avoid Reconnecting a Damp Appliance
A toaster may look dry on the outside while moisture remains around a tray, control, or opening. Allow all cleaned parts and accessible surfaces to dry fully before reconnecting the appliance. If liquid has entered the internal electrical components, do not use the toaster until the manufacturer or a qualified technician has advised you on what to do.
Conclusion
Learning how to clean a toaster is a simple way to keep an everyday kitchen appliance cleaner and in better working condition. For a pop-up toaster, focus on unplugging the appliance, removing crumbs, cleaning the tray, and wiping the exterior without allowing water into the slots. For a toaster oven, clean removable accessories separately and use gentle methods on the interior walls and glass door.
Avoid metal tools, harsh abrasives, excessive moisture, and unapproved cleaning chemicals. Always follow the instructions for your particular model, especially when cleaning coated surfaces or appliances with convection and air-fryer features.
With regular crumb removal and careful cleaning, you can reduce unpleasant odors, remove grease before it becomes difficult to manage, and keep your toaster ready for everyday use.
How often should you clean a toaster?
Empty the crumb tray regularly, especially if you use the toaster every day. Wipe the exterior when fingerprints or grease appear, and clean removable toaster-oven accessories as needed. A deeper cleaning schedule depends on how often you use the appliance and what foods you cook.
How do you clean the inside of a toaster safely?
Unplug the toaster and allow it to cool completely. Remove loose crumbs using the manufacturer’s recommended method and a soft, dry brush on accessible areas. Never pour water inside, insert metal objects into the slots, or scrub heating elements.
Can you clean a toaster with baking soda?
Baking soda may help with certain stubborn stains on approved surfaces, but it is not suitable for every finish or component. Check the owner’s manual before using it, and keep all powder away from slots, heating elements, vents, and electrical parts. Mild dish soap is generally sufficient for routine exterior cleaning.
How do you clean a toaster without a crumb tray?
First, check the manual to confirm whether the model has a removable tray or another approved crumb-removal method. If it has no removable tray, unplug it, let it cool, and follow the manufacturer’s instructions for removing loose crumbs. Do not pry open the base or force tools into the appliance.
How do you clean a toaster oven tray?
If the tray is approved for washing, soak it in warm, soapy water to loosen grease and food particles. Clean it with a soft sponge, rinse thoroughly, and dry completely. Avoid abrasive scrubbers if the tray has a nonstick coating.
How do you remove burnt cheese or grease from a toaster oven?
Unplug the appliance and let it cool. Soften residue on approved surfaces with a warm, damp cloth, then wipe gently with mild dish soap where permitted. Never scrape heating elements or allow liquid to collect around electrical parts.
Is it safe to clean a toaster with vinegar?
Vinegar is not usually necessary for toaster cleaning, and it should not be sprayed into the appliance. Use it only if the manufacturer explicitly approves it for the relevant surface. Never mix vinegar with bleach or other cleaning chemicals.
Why does my toaster smoke after cleaning?
Smoke may come from remaining crumbs, grease, or cleaning residue. Unplug the appliance, let it cool, and inspect accessible areas for leftover debris. If smoke continues or is accompanied by sparks, a burning electrical smell, or visible damage, stop using the appliance and seek professional guidance.
Can I put toaster racks and trays in the dishwasher?
Some accessories are dishwasher-safe, while others may have coatings or materials that require handwashing. Check the manual for your specific appliance before placing parts in a dishwasher. Dry all accessories fully before reinstalling them.