
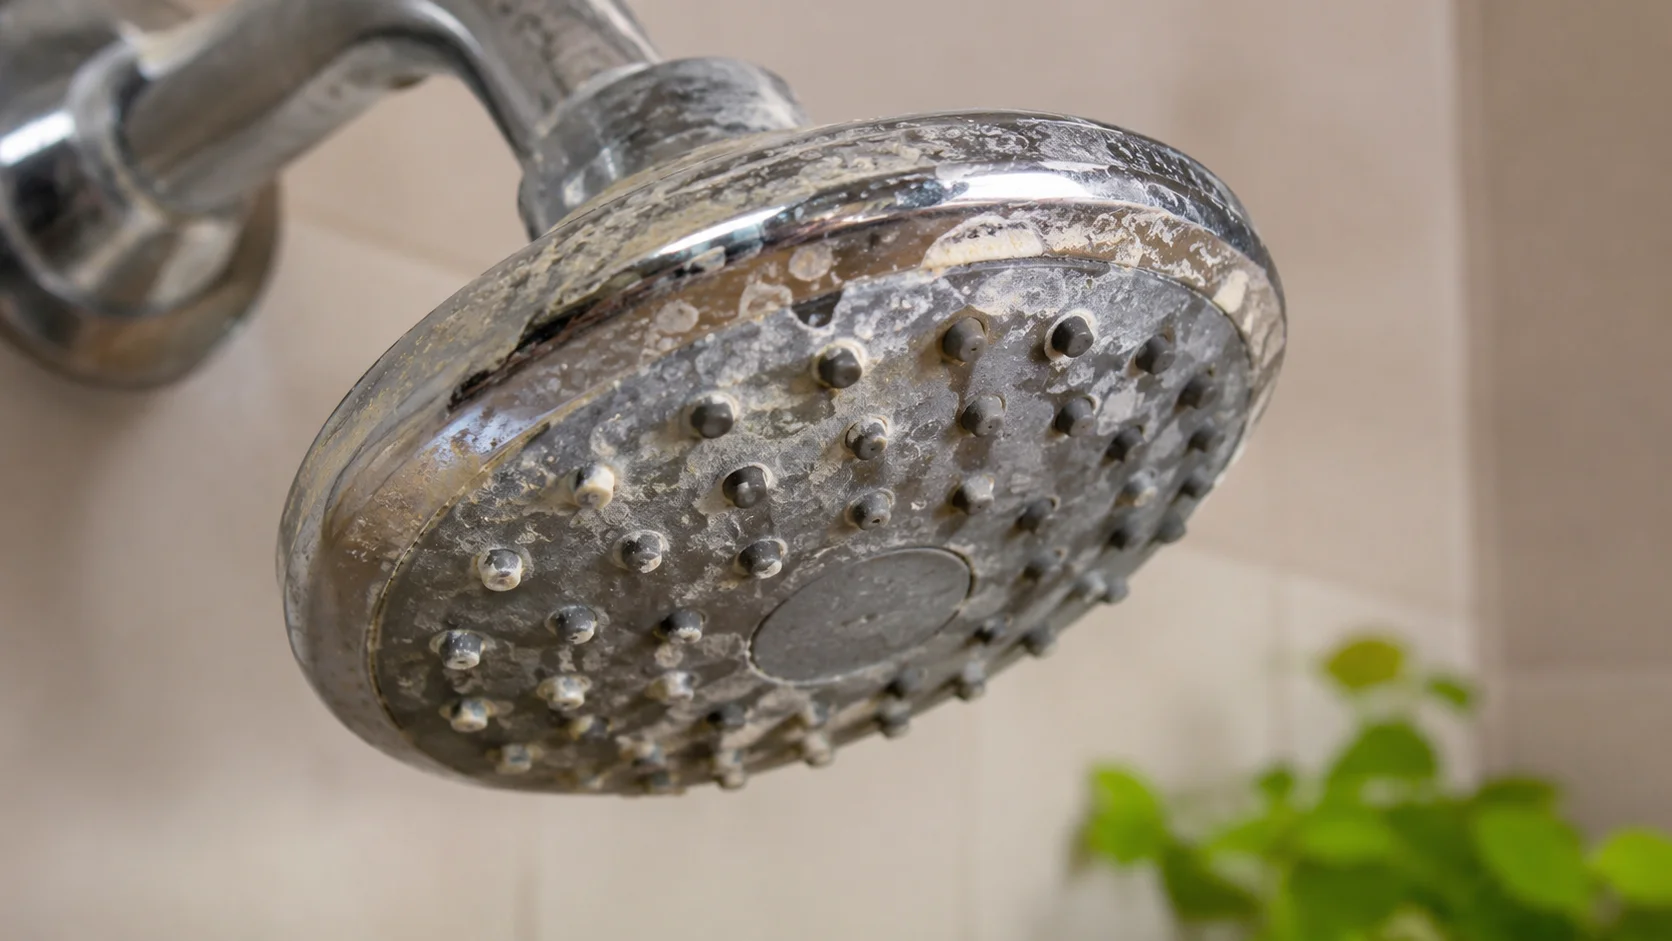
A shower head can gradually lose water pressure when mineral deposits from hard water collect around its spray holes. White crusty spots, uneven streams, and clogged nozzles are common signs that it needs cleaning. White distilled vinegar can help dissolve many mineral deposits, making it a practical household option for compatible shower heads.
The safest method depends on the shower head’s material and finish. Some models can be removed and soaked, while others are easier to clean with a bag of diluted vinegar. However, vinegar is acidic and may damage certain finishes, coatings, or components if used incorrectly. This guide explains how to clean a shower head with vinegar, how long to soak it, and which alternatives to use when vinegar is unsuitable.
Why Use Vinegar to Clean a Shower Head?
White distilled vinegar contains acetic acid, which can dissolve certain mineral deposits, including some calcium-based buildup left by hard water. These deposits may block the small openings through which water sprays.
Vinegar is useful for tackling mineral scale, but it is not a universal bathroom cleaner. It does not repair damaged components, and it should not be assumed to disinfect a shower head. If the shower head has a special coating, delicate finish, or manufacturer-specific cleaning requirements, check the product instructions before using vinegar.
Common signs that your shower head needs cleaning include:
- Water sprays in different directions instead of forming an even pattern.
- Several spray holes appear blocked.
- White or chalky deposits form around the nozzles.
- Water flow has gradually decreased despite normal household water pressure.
- Mineral spots remain around the shower head after routine bathroom cleaning.
If the entire shower has low pressure, the cause may be elsewhere in the plumbing. Cleaning the shower head can help when mineral buildup is responsible, but it will not solve every pressure problem.
Jump into Other Related Article
- Best Deck Stain and Sealer | Complete Guide for Pressure Treated, Cedar, Old, and Full Sun Decks
- Brick Stain Colors | Exterior, Interior, Fireplace, Paver, and Before and After Ideas
- Rust Stain Remover | Complete Guide for Clothes, Concrete, Toilets, Bathtubs, Cars, and More
How to Clean a Shower Head With Vinegar: Step-by-Step
For many compatible shower heads, a diluted white vinegar solution is a practical way to loosen mineral deposits. Delta Faucet recommends a 50/50 mixture of white vinegar and water for certain shower heads, while The Home Depot describes a longer bag-soaking method. Because finishes and designs vary, follow your shower head manufacturer’s guidance first.
What You Will Need
- White distilled vinegar
- Clean water
- A plastic bowl or container, if removing the shower head
- A sturdy plastic bag, if cleaning it while attached
- A soft cloth or soft-bristled toothbrush
- A twist tie or reusable strap to secure the bag
- An adjustable wrench and cloth, only if removal is necessary and permitted
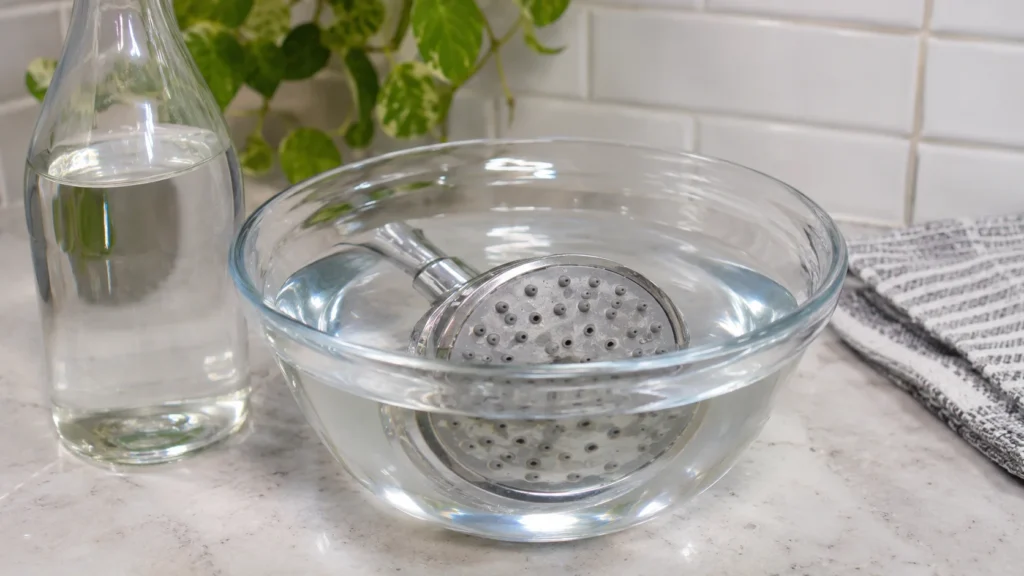
Method 1: Soak a Removable Shower Head
Removing the shower head allows you to clean the spray face and inspect the connection for debris.
- Turn off the shower. Make sure the water is not running.
- Remove the shower head if the manufacturer permits it. Turn the connecting nut counterclockwise. If it is tight, protect the finish with a cloth and use an appropriate wrench carefully. Hold the shower arm steady so you do not twist the pipe inside the wall.
- Prepare the cleaning solution. Mix equal parts white distilled vinegar and water in a container large enough to cover the shower head.
- Soak the shower head. Start with about 30 minutes if the manufacturer’s instructions permit soaking. Some products may require a shorter or longer period.
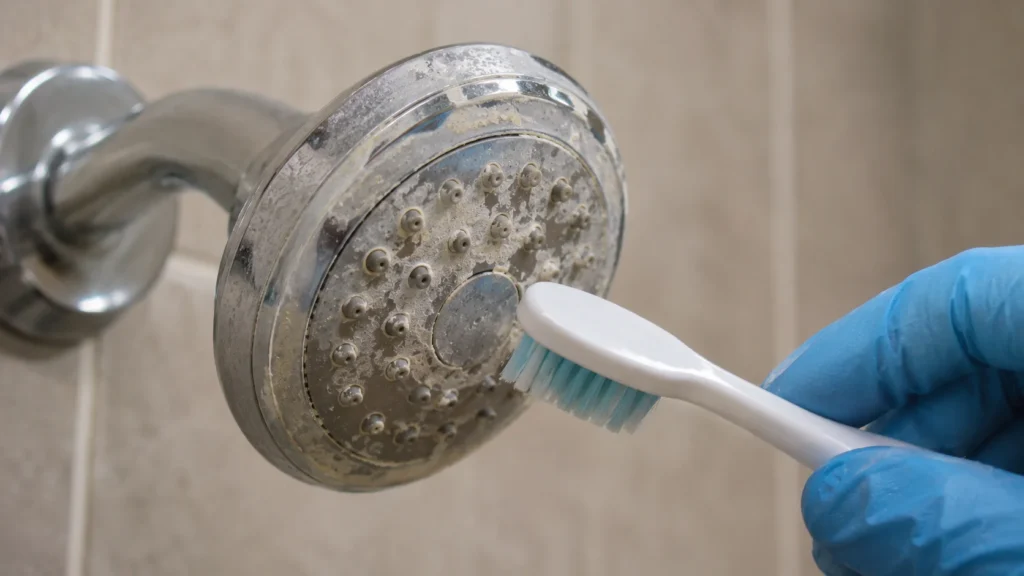
- Inspect the spray holes. Gently wipe the face with a soft cloth or toothbrush to loosen remaining deposits.
- Rinse thoroughly. Flush the shower head with clean water, including the connection and any removable screen that the manufacturer allows you to clean.
- Reinstall it carefully. Make sure any gasket or screen is correctly positioned. Tighten the connection without forcing it, then run the water and check for leaks.
Delta’s published instructions describe a 30-minute soak in a 50/50 vinegar-and-water solution for its applicable shower heads.
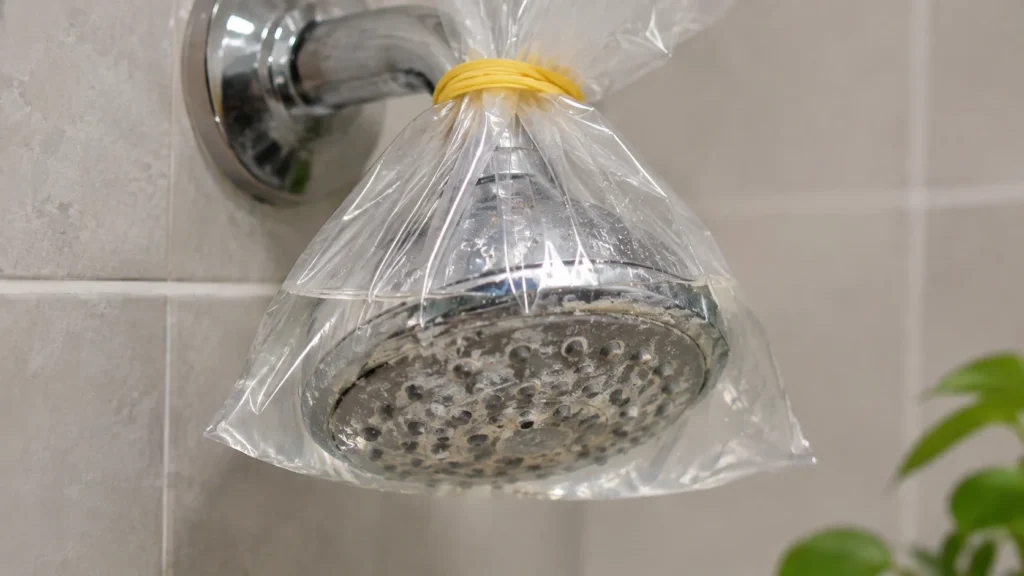
Method 2: Clean the Shower Head With the Vinegar Bag Method
The bag method is useful when the shower head is difficult to remove. However, do not use it if the manufacturer warns against prolonged contact with vinegar or if the finish cannot safely be exposed to the solution.
- Mix equal parts white distilled vinegar and water in a container.
- Pour enough of the solution into a sturdy plastic bag to cover the shower head’s spray face.
- Carefully position the bag around the shower head so the spray holes are submerged.
- Secure the bag with a reusable strap or twist tie. Make sure it is supported and cannot fall.
- Leave it in place for the period approved by the manufacturer. For a compatible shower head, you can start with 15–30 minutes and inspect the result before extending the time.
- Remove the bag and discard the solution.
- Wipe the spray face gently with a soft cloth or toothbrush.
- Run the shower to flush out loosened mineral deposits and rinse the shower head thoroughly.
The Home Depot describes an overnight bag soak for its general cleaning method, but that does not mean overnight soaking is safe for every shower head. For delicate finishes or an unknown model, a shorter contact time and the manufacturer’s instructions are the safer starting point.
Method 3: Clean a Shower Head With Rubber Spray Nozzles
Some shower heads have flexible rubber nozzles designed to make mineral buildup easier to remove.
- Check whether your shower head has a manufacturer-approved touch-clean feature.
- Gently rub the rubber nozzles with clean fingers to loosen deposits.
- Wipe the spray face with a damp, nonabrasive cloth.
- If deposits remain, use a compatible cleaning solution only if the manufacturer’s care instructions allow it.
- Rinse the shower head and test the spray pattern.
Delta specifically recommends wiping its Touch-Clean shower-head spray holes to loosen and break away deposits. For other models, use the cleaning procedure specified by the brand.
How Long Should You Soak a Shower Head in Vinegar?
There is no single soaking time for every shower head. The right duration depends on the manufacturer’s instructions, the material and finish, and how much mineral buildup is present.
| Situation | Practical approach |
| Light mineral deposits | Begin with a short soak, such as 15–30 minutes, if permitted |
| Moderate buildup | Inspect after the initial soak and extend only as the manufacturer allows |
| Heavy limescale | Use the approved cleaning method and repeat if permitted, rather than automatically soaking overnight |
| Special or decorative finish | Check the manufacturer’s care instructions before using vinegar |
| Unknown shower-head material | Avoid prolonged soaking; identify the model or use a gentle approved cleaning method |
Delta recommends checking the shower head periodically during soaking and using a soft toothbrush for remaining deposits. The Home Depot describes an overnight method for compatible products, but manufacturer guidance should take priority.
Important: If the finish starts to look dull, discolored, or damaged, stop the treatment immediately and rinse the shower head thoroughly.
How Much Vinegar Do You Need to Clean a Shower Head?
You need enough solution to cover the areas where mineral deposits have collected. The exact amount depends on the shower head’s size and whether you are soaking it in a bowl or using a bag.
For a removable shower head, start with one cup of white vinegar and one cup of water. Add more of the same mixture if the shower head is not fully submerged.
For the bag method, prepare a smaller amount if that is sufficient to cover the spray face. Avoid filling the bag so heavily that its weight could pull on the shower arm or damage the connection.
The goal is to keep the affected areas in contact with a compatible cleaning solution—not to use the largest possible amount of vinegar.
Can You Clean a Shower Head With Vinegar and Baking Soda?
You may see advice recommending vinegar and baking soda together, but mixing them is generally unnecessary for removing mineral deposits. Baking soda reacts with vinegar and neutralizes some of its acidity, which is the property that helps dissolve certain mineral deposits.
For hard water buildup, a diluted white vinegar solution alone is often the simpler choice, provided the shower head manufacturer approves it.
If you use baking soda separately for a cleaning task that permits it, avoid abrasive rubbing on decorative or delicate finishes. Do not mix homemade ingredients with commercial cleaners, and never combine vinegar with bleach because doing so can release hazardous chlorine gas.
How to Clean a Shower Head Without Vinegar
If your shower head has a delicate finish, the manufacturer advises against vinegar, or you simply prefer not to use it, try one of these alternatives.
1. Use Warm Water and a Soft Cloth
For light water spots and surface dirt, wipe the shower head with a soft, damp, nonabrasive cloth. Dry it with a clean cloth afterward to reduce new water marks.
This is a good first step for routine maintenance, although it may not dissolve established mineral scale.
2. Use Mild Soap and Water
Mix a small amount of mild dish soap with water, if permitted by the manufacturer. Wipe the surface gently, then rinse thoroughly and dry it.
Avoid harsh abrasives, scouring pads, and products that are not approved for the finish. Delta’s care guidance recommends nonabrasive cleaning methods for its finishes and warns against several harsh or abrasive cleaners.
3. Rub Flexible Spray Nozzles Gently
If the shower head has flexible rubber spray nozzles designed for manual cleaning, gently rub them with your fingers to dislodge loose mineral deposits. Do not use this method on rigid nozzles or components that the manufacturer says should not be handled this way.
4. Use a Manufacturer-Approved Descaling Product
If mineral buildup remains, check the manufacturer’s care guide for a compatible descaler. Follow its dilution, contact time, rinsing, and safety instructions exactly.
Do not assume that a product suitable for ceramic tile, a sink, or a faucet is also suitable for a shower-head finish.
5. Consider Removing and Flushing the Shower Head
If the model can safely be removed, flushing it with clean water may help clear loose debris. Some shower heads have a screen or filter that can collect particles, but not every model is designed for user disassembly.
Check the product manual before removing internal components. If the shower head is difficult to detach, do not force the connection.
How to Clean a Clogged Shower Head With Vinegar
A clogged shower head may have mineral deposits covering individual spray holes or debris caught inside the connection. Start by checking whether the problem affects just a few nozzles or the entire shower.
- Inspect the spray face for visible white or chalky deposits.
- If the manufacturer permits it, soak the shower head in a diluted white vinegar solution.
- Gently clean the spray holes with a soft toothbrush or approved nozzle-cleaning method.
- Rinse the shower head thoroughly.
- Run the water and check whether the spray pattern has improved.
Avoid pushing needles, pins, or other sharp objects deep into the spray holes. They can damage the nozzles or internal components, especially on models with delicate or coated surfaces.
If the shower head still sprays unevenly after cleaning, check the manufacturer’s troubleshooting instructions. A blocked screen, worn component, or plumbing issue may require a different solution.
How to Clean a Jolie Shower Head With Vinegar
If you have a Jolie filtered shower head, check its current care instructions before soaking the entire unit. A filtered shower head may contain components that have different maintenance requirements from a standard, unfiltered shower head.
A cautious approach is to:
- Identify the exact model and read its care guidance.
- Avoid soaking the entire assembly unless the manufacturer permits it.
- Clean the exterior with a soft cloth and an approved cleaning solution.
- Check whether the filter needs separate maintenance or replacement.
- Flush the unit as instructed after any permitted cleaning.
Do not assume that instructions for a conventional metal shower head apply to a filtered model. If the manufacturer does not clearly approve vinegar, use its recommended alternative.
How to Clean a Moen Shower Head With Vinegar
Moen shower heads vary by model and finish, so check the care instructions for your specific product before using vinegar.
If the instructions permit a diluted vinegar solution, follow the approved concentration and soaking time, then rinse thoroughly. If vinegar is not recommended, use the manufacturer’s approved cleaning method instead.
For models with rubber spray nozzles, check whether the spray face can be cleaned by gently rubbing the nozzles. Avoid dismantling the shower head unless the instructions allow it.
When the model is unknown, the safest starting point is a soft damp cloth and a nonabrasive cleaning method approved by the manufacturer.
How to Prevent Mineral Buildup on Your Shower Head
Regular care can reduce the amount of descaling needed over time.
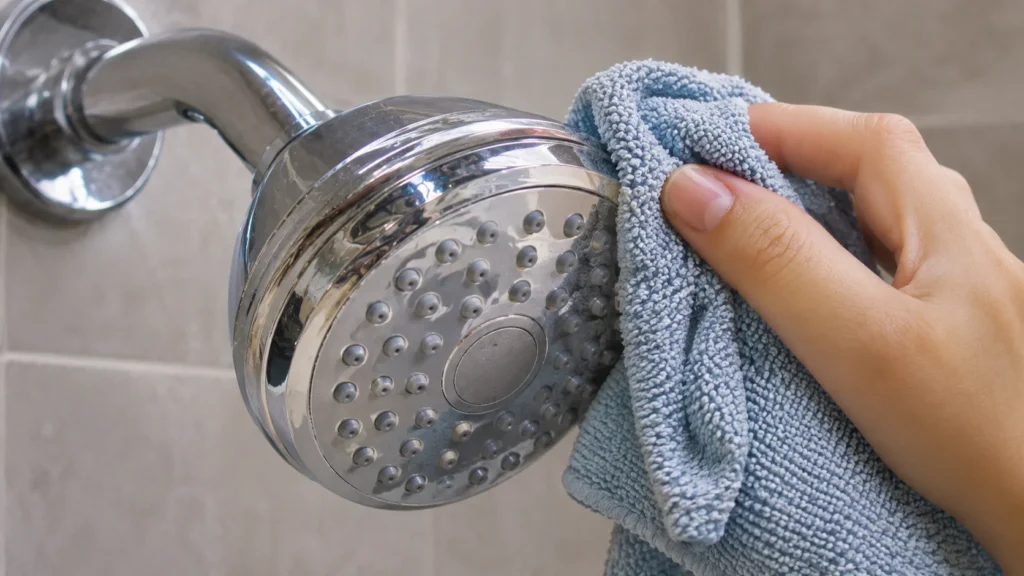
- Wipe the spray face periodically: Use a soft cloth to remove water droplets and surface residue.
- Clean the nozzles when needed: If the manufacturer provides flexible, touch-clean nozzles, use the recommended method.
- Address buildup early: A light deposit is generally easier to remove than a thick layer of mineral scale.
- Avoid harsh cleaning products: Use only products compatible with the shower head’s material and finish.
- Maintain the filter if applicable: Follow the instructions for filtered shower heads and replace filter components as directed.
- Investigate persistent low flow: If cleaning does not restore normal water flow, check for other causes instead of repeatedly soaking the shower head.
Delta recommends regular wiping and drying to help reduce mineral deposits caused by evaporating water.
Conclusion
Learning how to clean a shower head with vinegar can help you remove mineral deposits and restore a more even spray pattern without buying a specialized cleaner. For compatible models, a diluted white vinegar solution, gentle brushing, and thorough rinsing are often enough to tackle ordinary hard water buildup.
The most important step is to check the manufacturer’s instructions before soaking the shower head. Use a shorter contact time when appropriate, avoid abrasive tools, and choose a manufacturer-approved alternative if vinegar is unsuitable. Regular wiping and prompt attention to deposits can also make future cleaning easier.
Does vinegar really clean a shower head?
Yes, white distilled vinegar can help dissolve certain mineral deposits because it contains acetic acid. It is useful for compatible shower heads affected by hard water buildup, but it is not suitable for every finish or material. Check the manufacturer’s care instructions first.
How do you clean a shower head with white vinegar?
For a removable shower head, soak it in a mixture of equal parts white vinegar and water if the manufacturer permits it. For an attached shower head, use a bag containing the diluted solution. After the approved soaking time, gently clean the spray face, rinse thoroughly, and test the water flow.
How long should you leave vinegar on a shower head?
Start with approximately 15–30 minutes if the manufacturer permits that contact time, then inspect the result. Some manufacturers recommend different periods. Do not assume that an overnight soak is safe for every shower head.
How often should you clean a shower head with vinegar?
Clean it when mineral deposits or uneven spray become noticeable rather than following a rigid schedule. Homes with hard water may need more frequent cleaning. For regular maintenance, wiping the spray face and following the manufacturer’s care instructions can help prevent buildup.
Can I use apple cider vinegar to clean a shower head?
White distilled vinegar is generally the better choice because it is colorless and commonly used for descaling. Apple cider vinegar is acidic too, but it can leave additional residue and is not usually necessary for this task. Confirm that the manufacturer permits vinegar before using either type.
Can vinegar damage a shower head?
Yes, it can damage certain materials, decorative coatings, or finishes if used inappropriately or left in contact too long. Some manufacturers approve diluted vinegar for their products, while others specify different cleaning methods. Always follow the instructions for your particular model.
How do I clean a shower head without vinegar or baking soda?
Use a soft cloth with warm water or a small amount of mild soap if the manufacturer allows it. For mineral buildup that does not come off, use a manufacturer-approved descaler. Avoid abrasive tools and do not dismantle components unless the product instructions permit it.
Should I mix vinegar and baking soda to clean a shower head?
Usually not. The two ingredients react and neutralize some of the vinegar’s acidity, so combining them is unnecessary for a straightforward mineral-deposit treatment. A compatible, diluted vinegar solution alone is often the simpler approach.
Why is my shower head still clogged after cleaning?
The blockage may be inside the shower head, in a screen or filter, or elsewhere in the plumbing. Check the manufacturer’s troubleshooting guidance and clean only the parts intended for user maintenance. If water pressure remains low throughout the shower, the problem may not be the shower head itself.
Can I use vinegar on a black or matte-finish shower head?
Do not assume it is safe based on the color or finish alone. Some manufacturers approve diluted vinegar for particular matte-finish products, while other finishes may require different care. Check the exact model’s instructions and avoid prolonged soaking unless expressly permitted.