
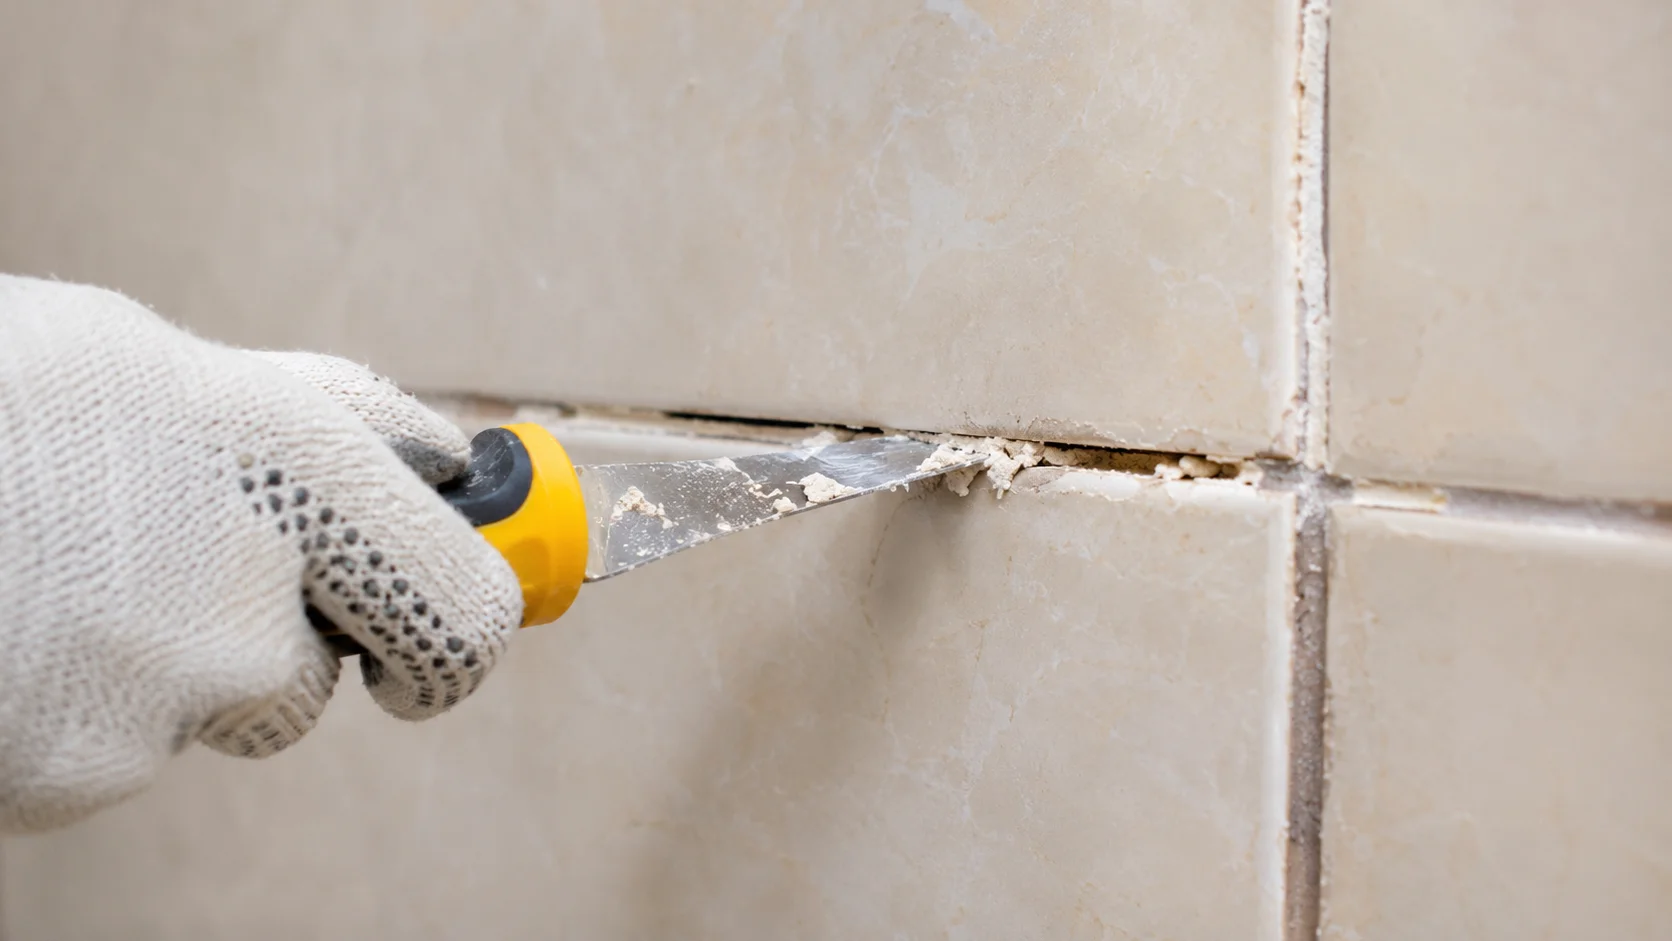
Damaged tile grout can make a bathroom, shower, kitchen backsplash, or tiled floor look worn and poorly maintained. Cracks, crumbling joints, missing grout, and dark gaps can also allow water and dirt to reach areas that should remain protected. The right tile grout repair method depends on the extent of the damage, the type of grout, the tile surface, and whether moisture or movement caused the problem.
Small areas of damaged grout can often be repaired without replacing the entire tiled surface. However, simply spreading fresh grout over loose or cracked material usually produces a weak repair that may fail again. This guide explains how to identify the problem, remove damaged grout safely, choose the right replacement material, and determine when professional tile and grout repair is the better option.
What Is Tile Grout Repair?
Tile grout repair means removing or restoring damaged material between tiles to create sound, clean joints again. Grout fills the spaces between tiles, helps support their edges, and reduces the amount of dirt that collects in the joints. Although grout can help limit water penetration, ordinary cement-based grout is not a waterproofing system.
A successful repair addresses the damaged grout and, where necessary, the underlying cause. That may involve replacing deteriorated grout, using flexible sealant at movement joints, fixing a loose tile, or investigating moisture behind the tiled surface.
Common signs that tile grout needs repair include:
- Cracks running through grout joints.
- Grout that flakes, crumbles, or comes out when lightly brushed.
- Missing sections between floor or wall tiles.
- Gaps around a bathtub, shower tray, countertop, or other change of plane.
- Repeated discoloration or mold-like growth associated with persistent dampness.
- Tiles that move, sound hollow, or have become loose.
Not every dark grout line requires replacement. Surface dirt and mildew may respond to appropriate cleaning, while deep cracks and missing material generally need a different solution.
Tools and Materials for Tile and Grout Repair
Gather the right supplies before removing any damaged grout. Using unsuitable tools can chip tile edges or damage the waterproofing layer beneath shower tiles.
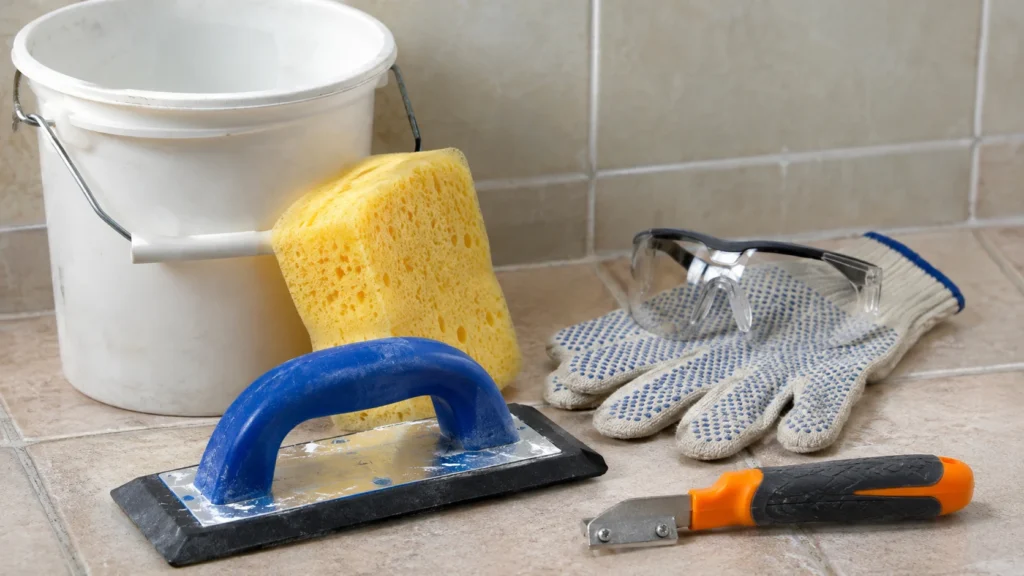
Essential tools
- Manual grout saw or a grout-removal tool suitable for the joint width.
- Small vacuum or brush to remove loose debris.
- Rubber grout float for spreading replacement grout.
- Clean bucket and grout sponge.
- Protective gloves and eye protection.
- Soft cloths and painter’s tape where appropriate.
Materials to prepare
- Replacement grout matched to the existing installation.
- Flexible bathroom sealant for appropriate movement joints.
- Grout sealer, if required by the chosen grout.
- Tile repair adhesive or mortar if a tile itself needs to be reset.
- Cleaning supplies approved for the tile material.
Lowe’s recommends matching the grout to the joint width and tile type, and removing damaged material before applying replacement grout. Its repair guide also stresses wearing eye protection during grout removal.
How to Repair Tile Grout Step by Step
This method is intended for localized grout damage where the tiles remain firmly attached and the underlying installation is sound. If tiles are loose, the substrate is damaged, or water has entered the wall or floor assembly, investigate those problems before regrouting.
Step 1: Inspect the Damaged Area
Look closely at the grout joints and surrounding tiles. Determine whether the grout is cracked, missing, crumbling, stained, or simply dirty.
Press gently on nearby tiles to check for movement, but do not force them. If a tile shifts, several joints are cracking, or the shower wall feels unstable, stop and investigate the underlying installation. New grout will not correct loose tile adhesive or a moving substrate.
Step 2: Clean the Tile and Grout
Remove soap residue, dust, and surface grime with a cleaner suitable for the tile and grout. Rinse away cleaning residue and allow the area to dry as directed by the replacement grout manufacturer.
Cleaning helps you see the actual damage and prevents loose dirt from interfering with the repair. Avoid applying a strong acidic cleaner immediately before regrouting unless the product and grout manufacturers permit it.
Step 3: Remove the Damaged Grout
Use a manual grout saw or suitable grout-removal tool to remove loose, cracked, and deteriorated grout. Work slowly along the joint, keeping the tool away from tile edges and the material behind the tile.
Remove enough grout to provide the depth required by the replacement product. Do not simply skim a thin layer of fresh grout over the old surface: a shallow patch may not bond reliably.
In showers, be especially careful not to cut into the waterproofing membrane, backer board, or other underlying materials. If you cannot remove the grout without risking those components, consider professional help.
Step 4: Remove Dust and Loose Particles
Vacuum the joints or use an appropriate brush to clear away grout fragments. The joint must be clean enough for the new material to contact the remaining sound surfaces.
Follow the grout manufacturer’s preparation instructions. Some products require the joint to be dry; others specify particular moisture conditions. Do not assume every grout should be applied to a wet joint.
Step 5: Choose the Correct Replacement Grout
Match the grout type to the joint width, tile material, and installation location. Consider the existing grout type when possible, especially for older installations.
For a small repair, a grout repair kit may be convenient, but check whether it is intended for floors, walls, showers, or only cosmetic touch-ups. Some combination products are not appropriate for areas exposed to frequent water.
Step 6: Apply the New Grout
Prepare the grout exactly as instructed on its packaging. For powdered grout, measure the water carefully and mix only as much as you can use within the stated working time.
Press the grout firmly into the prepared joints using a rubber grout float or the application tool recommended for that product. Move diagonally across the tile faces to help fill the gaps without pulling material back out.
Work in manageable sections. Avoid leaving voids, pinholes, or uneven low spots in the repaired joints.
Step 7: Remove Excess Grout
When the grout reaches the cleaning stage specified by its manufacturer, wipe the tile surface with a clean, appropriately damp sponge. Use light diagonal strokes and rinse the sponge frequently.
Too much water can weaken or discolor some cement-based grouts, so do not flood the joints or repeatedly wash them before the product permits it.
Step 8: Allow the Repair to Cure
Protect the repair from foot traffic, splashing, cleaning chemicals, and other disturbance for the time stated on the product label. The required time varies by formulation, temperature, humidity, and installation conditions.
For shower and tub surrounds, do not resume water exposure until the grout and any separate sealant have reached the manufacturer’s required cure time.
Step 9: Seal the Grout if Required
Some cement-based grouts benefit from a compatible penetrating sealer, while epoxy grout generally does not require a separate sealer. Check the specific grout instructions before applying anything.
A grout sealer can help reduce staining and moisture absorption, but it does not replace a properly installed waterproofing system.
How to Repair Grout on a Tile Floor
Floor tile grout repair needs particular attention because foot traffic, furniture movement, and uneven support can contribute to recurring cracks.
Start by identifying whether the damage affects one isolated joint or a larger section of the floor. If the tiles are stable and the damage is limited, you can often remove the affected grout and replace it with a compatible floor grout.
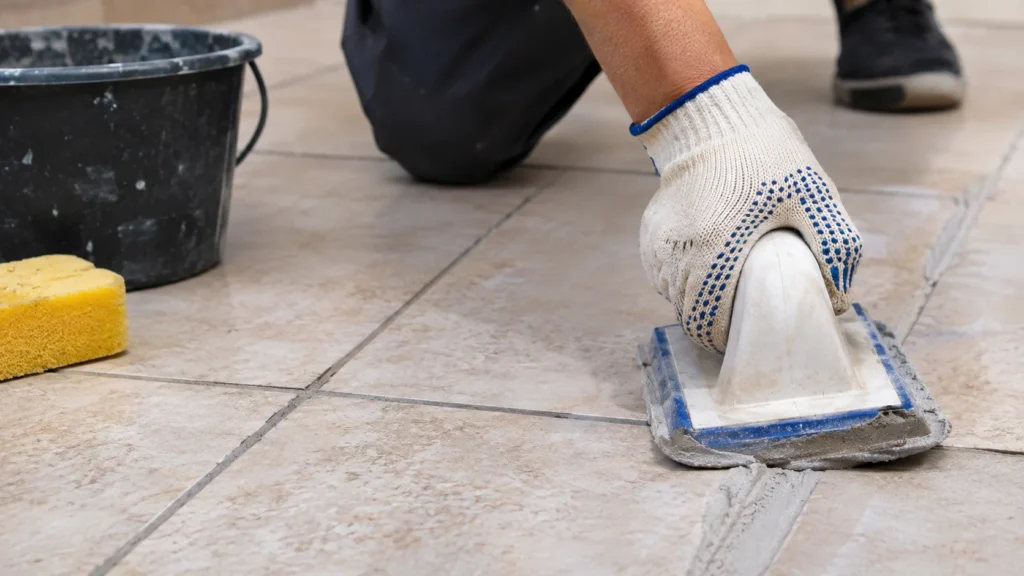
Follow these steps:
- Move furniture and clean the damaged area.
- Check for loose, rocking, or cracked tiles.
- Remove the damaged grout without cutting into the tile edges or substrate.
- Vacuum the joints and prepare them according to the product instructions.
- Apply suitable replacement grout and remove excess material with a grout float.
- Wipe the tile faces at the correct stage, then protect the repair during curing.
- Apply sealer if the selected grout requires it.
Why floor grout keeps cracking: Recurring cracks may indicate movement in the substrate, inadequate tile support, an unsuitable joint material, or missing movement joints. Regrouting repeatedly without investigating the cause may only provide a temporary cosmetic improvement.
For larger areas, widespread cracking, or tiles that move underfoot, have a tile professional assess the installation before proceeding.
Shower Tile Grout Repair: What Is Different?
Shower grout repair requires more caution than many dry-area repairs because the tiled assembly is regularly exposed to water.
Repairing Cracked Shower Grout
If only a small area of grout has deteriorated and the tiles are secure, remove the damaged material and replace it with a grout approved for the shower installation. Keep the joint clean and follow the required curing period before using the shower.
If cracks keep returning, investigate movement, loose tiles, and potential moisture damage instead of repeatedly filling the same gap.
Repairing Grout Around a Bathtub or Shower Tray
The joint where a tiled wall meets a bathtub or shower base often experiences movement. This change of plane commonly requires a suitable flexible sealant rather than rigid grout.
Remove failed sealant carefully, clean the joint, and apply a compatible bathroom sealant according to its instructions. Do not fill the joint with grout simply because the surrounding tile joints are grouted.
What if Shower Grout Is Missing?
Missing grout in a shower deserves prompt attention. Remove the loose material, inspect the surrounding joints and tiles, and repair the area with a compatible product. If the gap is deep, extensive, repeatedly wet, or accompanied by loose tiles or signs of leakage, seek a professional assessment.
Remember that grout alone does not waterproof a shower. The underlying waterproofing system must be intact and properly installed.
Tile Grout Repair Kits: Are They Worth Buying?
A tile grout repair kit can be useful for small, localized damage. Kits vary, however, and may contain grout, a repair compound, an applicator, colorant, or other materials. Some are intended for cosmetic touch-ups rather than replacing deteriorated grout throughout a shower or floor.
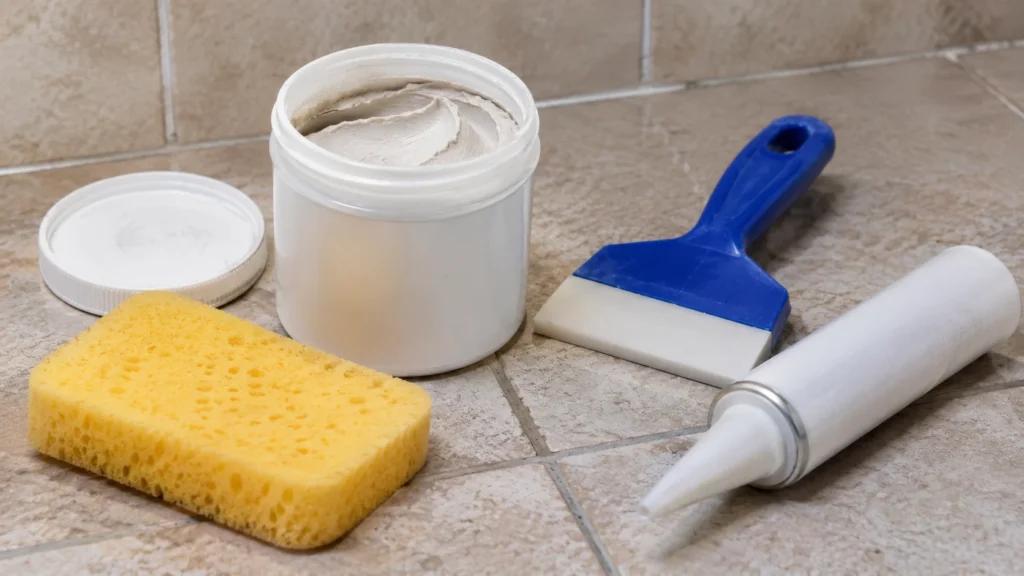
Before purchasing a kit, check these details:
- Application area: Confirm that the product is suitable for floors, walls, showers, or the specific location you need to repair.
- Joint width: The replacement material must suit the width of the existing joints.
- Tile compatibility: Check the instructions for ceramic, porcelain, natural stone, or other tile types.
- Moisture exposure: Make sure the product is approved for areas that regularly get wet.
- Color match: Compare the color after the product has dried or cured, following the manufacturer’s guidance.
- Preparation requirements: Determine whether the old grout must be removed and how deep the repair needs to be.
- Curing time: Check when the area can be walked on or exposed to water.
A repair kit is not a substitute for fixing loose tiles, damaged backer board, failed waterproofing, or movement beneath a floor. For those problems, the underlying installation needs attention first.
Which Grout Should You Use for Repairs?
The replacement grout should suit the tile joint, material, and exposure conditions. These are the main options to understand before starting a repair.
| Grout type | Common use | Important consideration |
| Sanded cement-based grout | Many wider joints in floor and wall installations | Sand may scratch polished or delicate tile surfaces |
| Unsanded cement-based grout | Many narrow joints and delicate tile applications | Confirm the manufacturer’s permitted joint width |
| Epoxy grout | Installations that benefit from strong stain resistance | Can be harder to apply and clean; follow its specific instructions |
| Premixed grout | Certain small repairs and convenient applications | Verify suitability for the location and moisture exposure |
| Flexible sealant | Appropriate changes of plane and movement joints | It is not a universal replacement for grout in ordinary joints |
Joint width alone does not determine the correct product. Follow the grout and tile manufacturers’ recommendations, especially with glass, marble, polished stone, and shower installations. Some products have specific limits or require special application methods.
Tile and Grout Repair Near Me: When to Hire a Professional
Searching for tile and grout repair near me makes sense when the damage is extensive, difficult to reach, or potentially related to a larger installation problem. A qualified tile repair professional can inspect the grout, tile bonding, substrate, and signs of moisture damage before recommending a repair.
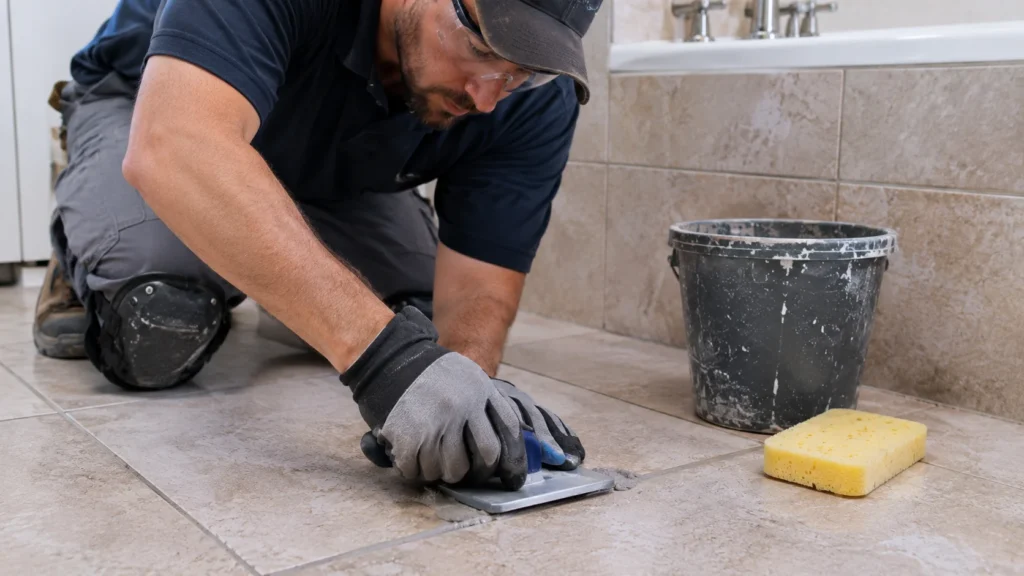
Consider professional tile and grout repair services if:
- Grout cracks repeatedly after previous repairs.
- Multiple tiles are loose, shifting, or hollow-sounding.
- Shower grout damage appears alongside water stains or leakage.
- The floor feels uneven or tiles are lifting.
- Grout is missing across a large area.
- You suspect damage to the shower’s waterproofing system.
- The tile material is expensive, delicate, or difficult to match.
- You are unsure how to remove the old grout without damaging the installation.
How to Find a Reliable Tile Grout Repair Service
When comparing local contractors, ask for an inspection and a written estimate that explains the scope of work. A useful estimate should clarify whether the price covers grout removal, replacement material, sealant where needed, cleanup, and any tile or substrate repairs.
Before hiring, consider the following:
- Relevant experience: Ask whether the contractor has repaired the same type of tile and grout in a similar location.
- Diagnosis: Look for someone who investigates recurring cracks rather than simply covering them.
- Material selection: Confirm that the proposed grout or sealant is compatible with the installation.
- Water-damage assessment: For shower problems, ask how the contractor will determine whether the issue extends beneath the tiles.
- Written pricing: Request a breakdown of labor, materials, additional repairs, and any minimum service charge.
- Warranty and references: Ask what workmanship coverage is offered and whether examples of similar projects are available.
If you are searching in a particular city, include the city name in your query—for example, “tile and grout repair Houston,” “tile and grout repair Indianapolis,” or “tile and grout repair Dallas.” Check service areas and reviews directly rather than assuming that a company serves every nearby neighborhood.
How Much Does Tile Grout Repair Cost?
The cost of tile grout repair depends on the size of the damaged area, how difficult it is to remove the old grout, the type of replacement material, and whether the underlying installation also needs work.
A small DIY repair may require only a grout-removal tool and a modest quantity of replacement material. Professional repairs can cost more because labor, travel, preparation, cleanup, and minimum service charges may apply.
Costs can increase when:
- Grout must be removed from many joints.
- The work involves a shower, intricate tile layout, or difficult access.
- A specialty grout or sealant is required.
- Replacement tiles are needed because existing tiles are broken or loose.
- The substrate or waterproofing system requires repair.
- A close match to old grout is difficult to achieve.
There is no single reliable price for every tile grout repair project. Request itemized quotes based on the actual condition of the installation, and compare the same scope of work rather than choosing on the headline price alone. Mr. Handyman also notes that labor, materials, and the extent of damage affect the final repair cost.
Jump into Other Related Article
- Best Deck Stain and Sealer | Complete Guide for Pressure Treated, Cedar, Old, and Full Sun Decks
- Brick Stain Colors | Exterior, Interior, Fireplace, Paver, and Before and After Ideas
- How to Remove Coffee Stains | Easy Methods for Clothes, Teeth, Carpet & More
How to Prevent Grout From Cracking Again
A successful repair lasts longer when the cause of the original damage is addressed. Maintenance cannot eliminate every installation problem, but it can help protect sound grout.
- Clean tile and grout with products approved for the surface.
- Remove standing water and improve ventilation in bathrooms.
- Repair failed flexible sealant around tubs, shower bases, and other movement joints.
- Avoid harsh tools that chip tile edges or damage grout.
- Follow the grout manufacturer’s recommendations for sealing and routine care.
- Investigate loose tiles and recurring cracks rather than repeatedly filling the same joint.
- Avoid exposing newly repaired grout to water or traffic before it has cured.
If cracks reappear in the same location, treat them as a clue rather than just a cosmetic issue. Movement, inadequate tile support, moisture intrusion, or an incorrectly treated joint may be responsible.
Conclusion
Tile grout repair can restore the appearance of tiled floors, bathroom walls, showers, and kitchen surfaces when the damage is limited and the tiles remain secure. The key is to remove deteriorated grout properly, choose a compatible replacement material, and allow sufficient curing time before exposing the area to moisture or traffic.
For shower and bathroom tile grout repair, pay particular attention to movement joints and possible water damage. Use flexible sealant where the joint requires movement, and remember that grout alone does not waterproof a tiled surface. If cracks repeatedly return, tiles become loose, or leakage is suspected, address the underlying problem before making another repair.
How do you repair tile grout?
Remove the damaged grout with a suitable grout-removal tool, clean debris from the joints, and apply compatible replacement grout according to the manufacturer’s instructions. Wipe away excess material at the correct stage and allow the repair to cure fully before using the area.
Can you put new grout over old grout?
Applying a thin layer of new grout over old, damaged grout is generally not a reliable repair. Remove loose and deteriorated material first, preparing the joint to the depth required by the replacement product. Follow the manufacturer’s instructions for any specialized resurfacing or repair compound.
How do you repair cracked grout on a tile floor?
Check whether the surrounding tiles are firmly attached. If the damage is limited to the grout, remove the cracked material, clean the joint, and apply a suitable floor grout. If tiles move or the cracks keep returning, investigate the substrate and tile support before regrouting.
How do you repair shower tile grout without removing the tiles?
When the tiles are secure and the damage is limited to the grout, you can usually remove the affected grout and replace it without removing the tiles. Work carefully to avoid damaging the waterproofing beneath the tile. Extensive damage or signs of leakage may require a professional inspection.
Can I use caulk instead of grout?
Caulk or another suitable flexible sealant is generally used where tiled surfaces meet or where movement is expected, such as a wall-to-tub joint. Grout is used for ordinary joints between tiles. The correct material depends on the joint design and manufacturer’s instructions.
Why does my tile grout keep cracking?
Recurring cracks may result from movement in the substrate, loose tiles, inadequate tile support, an unsuitable grout, or a missing movement joint. Moisture-related installation problems can also contribute. Repeatedly filling the cracks without finding the cause may only provide a temporary fix.
Do I need to seal repaired grout?
It depends on the grout. Many cement-based grouts can benefit from a compatible sealer after the specified curing period, while epoxy grout generally does not require a separate sealer. Check the product instructions before applying one.
How long does repaired grout take to dry?
The time varies by product, temperature, humidity, joint depth, and installation conditions. Some products allow light use sooner than others, but water exposure may need to wait longer. Follow the manufacturer’s specific curing and return-to-service instructions rather than relying on a universal timeframe.
Is a tile grout repair kit good for small jobs?
Yes, a suitable kit can be convenient for small areas of missing or damaged grout. Check its intended application, surface compatibility, moisture limitations, joint-width requirements, and curing time. A kit will not correct loose tiles or damaged waterproofing.
When should I replace all the grout instead of repairing one section?
Localized repair is often reasonable when the surrounding grout is sound. Widespread crumbling, extensive cracking, or deterioration across many joints may justify broader regrouting. If the tiles are loose or water damage is suspected, have the installation assessed before deciding on the scope of work.
Can damaged grout cause a shower leak?
Damaged grout can be a warning sign, but it does not automatically mean the shower is leaking. The waterproofing membrane and underlying construction are responsible for protecting the structure from water. Cracked grout accompanied by loose tiles, water stains, or dampness outside the shower warrants further investigation.