
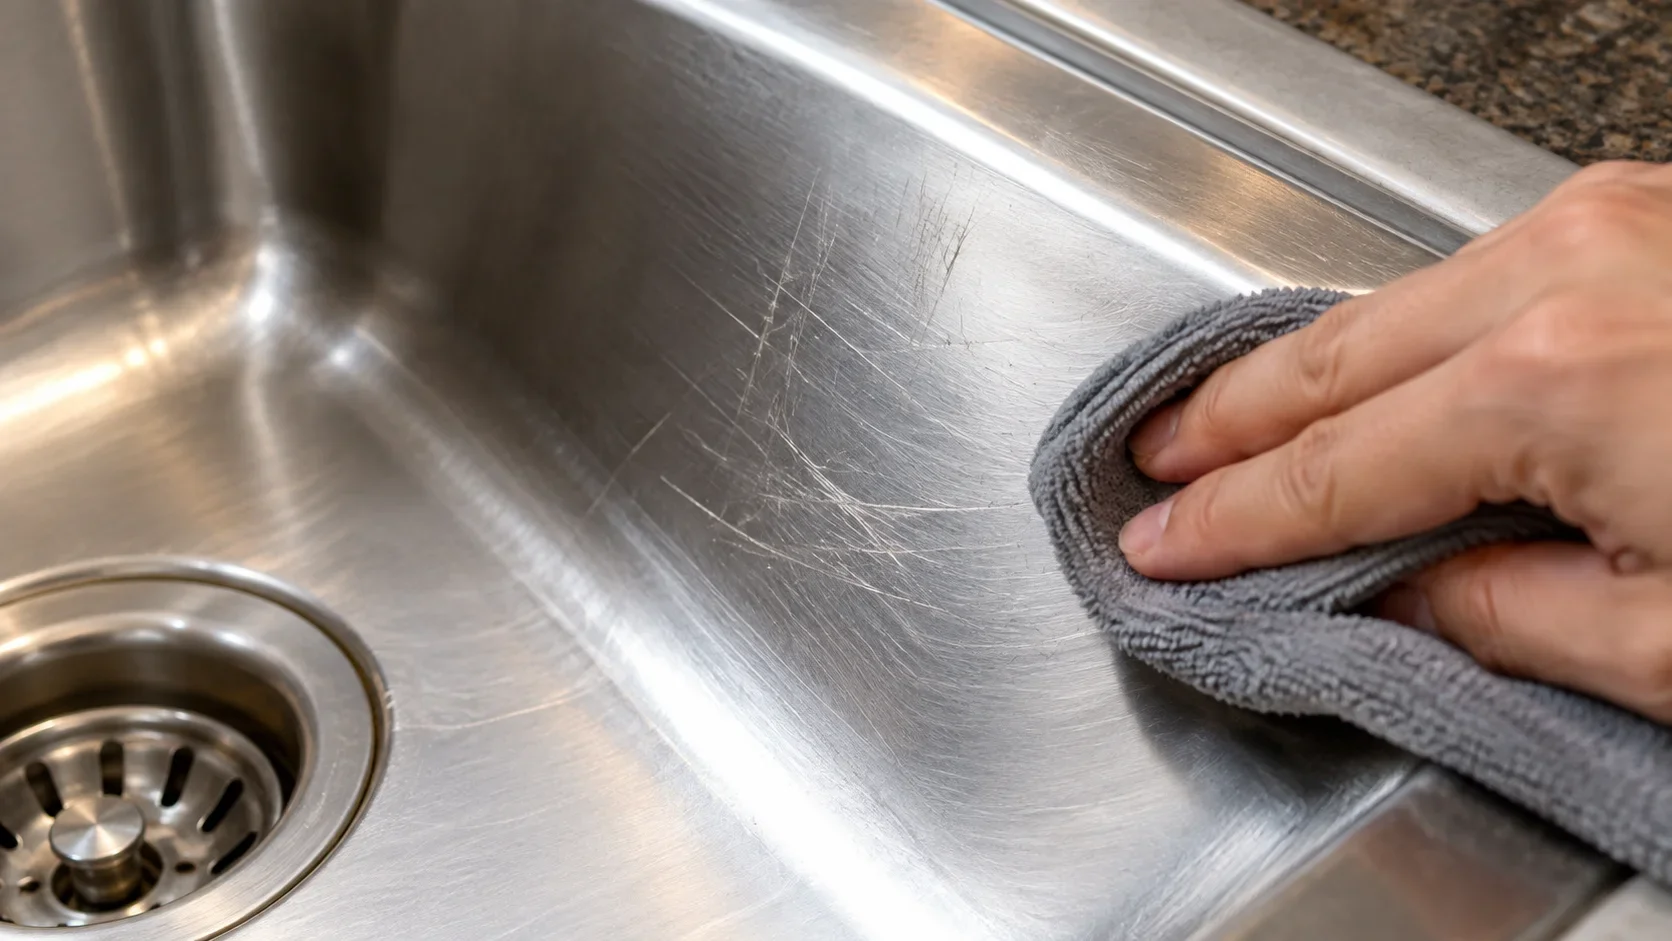
A stainless steel scratch remover can help reduce the appearance of light scratches, scuffs, discoloration, and some deeper surface damage on stainless steel appliances and sinks. The right method depends on the type of stainless steel, the depth of the scratch, the direction of the factory grain, and whether the surface has a protective coating. Light scratches may sometimes be blended with a suitable polish or mild abrasive, while deeper scratches can require a dedicated repair kit or professional refinishing. Manufacturer guidance is especially important because some modern appliances use coated, fingerprint-resistant, black, or decorative stainless finishes that should not be treated like traditional uncoated stainless steel.
The most important rule is simple: always work with the existing grain of the stainless steel rather than against it. Rubbing across the grain can create a visible patch that is more noticeable than the original scratch. Before using any stainless steel scratch remover, clean the surface, identify the finish, test an inconspicuous area, and follow the product or appliance manufacturer’s instructions.
Understanding Stainless Steel Scratch Remover
A stainless steel scratch remover is generally a polish, abrasive compound, resurfacing pad, or complete repair kit designed to reduce the visibility of scratches by cleaning, polishing, or carefully blending the metal surface. Not every product advertised as a stainless steel cleaner is actually designed to remove scratches. Some products, such as stainless steel polishes, primarily remove fingerprints, grease, water spots, and residue while improving shine rather than repairing physical scratches.
Scratch-removal products work differently depending on their formulation and intended use. A polishing compound may minimize very fine marks, while an abrasive pad or repair kit physically blends the surrounding surface. More aggressive methods can alter the factory finish, which is why they require greater control and attention to grain direction. Dedicated kits such as the GE Scratch-B-Gone product are specifically marketed for brushed stainless steel surfaces, while other products are limited to certain finishes.
15 Important Facts About Stainless Steel Scratch Removal
- Stainless steel scratches can range from hairline marks to deep grooves.
- Fine scratches are usually easier to blend than deep scratches.
- The grain direction is critical when working on brushed stainless steel.
- Cleaning should come before any abrasive repair.
- A stainless steel polish may improve appearance without actually removing a scratch.
- Abrasive pads physically change the surface finish.
- Repair kits are generally more controlled than improvised abrasive materials.
- Large refrigerator doors require extra caution because uneven blending can be noticeable.
- True stainless steel and coated stainless finishes require different approaches.
- Black stainless steel should not automatically be treated like conventional stainless steel.
- Fingerprint-resistant finishes may have a clear coating.
- A test spot can reveal whether a method is damaging the finish.
- Steel wool can create additional scratches if used incorrectly.
- Deep scratches may require professional metal refinishing.
- The appliance manufacturer’s care instructions should take priority over general DIY advice.
GE specifically warns that some appliance finishes do not have an approved repair method for highly visible scratches, while Sub-Zero notes that large or deep scratches may require professional refinishing or service.
How to Remove Light Scratches From Stainless Steel
Light stainless steel scratches are usually the easiest type to address because they may affect only the visible surface texture rather than creating a deep groove. Before reaching for an abrasive product, clean the area thoroughly so dirt and dried residue do not become additional sources of scratching. THOR Kitchen recommends cleaning first, identifying the grain, and then applying a suitable scratch-removing solution while moving in the grain direction.
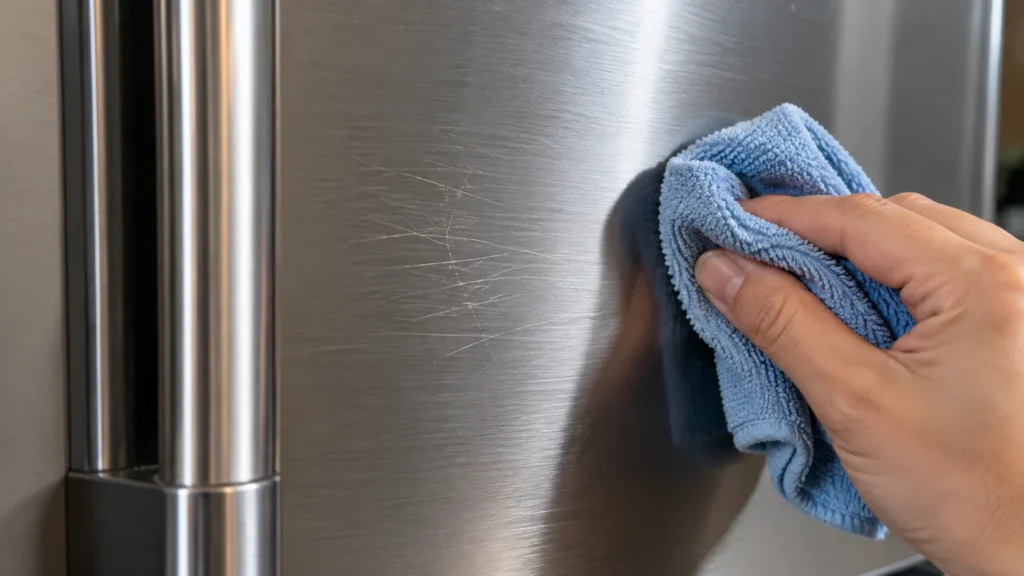
A stainless steel cleaner and polish can also improve the appearance of surfaces affected by fingerprints, water spots, grease, and minor discoloration. However, polishing and scratch repair are not always the same thing. Products such as Weiman Stainless Steel Cleaner & Polish are designed to clean, shine, and protect stainless steel, while dedicated scratch-erasing kits use a more abrasive approach.
15-Step Light Scratch Removal Process
- Turn off and unplug an appliance if the manufacturer’s instructions require it.
- Remove loose dust and food particles.
- Wash the affected area with an appropriate mild cleaner.
- Dry the stainless steel completely.
- Examine the surface under good lighting.
- Identify whether the grain runs horizontally or vertically.
- Check whether the scratch follows or crosses the grain.
- Choose a product specifically intended for your stainless finish.
- Test the product in a hidden location.
- Apply a small amount to a soft cloth or approved pad.
- Work gently in the direction of the grain.
- Avoid circular rubbing.
- Stop periodically and inspect the surface.
- Remove residue with a clean microfiber cloth.
- Buff lightly along the grain when finished.
If the scratch becomes more visible during the process, stop rather than increasing pressure. More aggressive rubbing does not necessarily produce a better result and can enlarge the repaired area.
Stainless Steel Sink Scratch Remover Methods
A stainless steel sink scratch remover needs to account for the fact that sinks receive heavier wear than refrigerator doors or decorative panels. Pots, pans, utensils, abrasive cleaners, and hard objects can create numerous scratches over time. A sink can therefore have a brushed or satin finish that requires broader blending rather than treating one tiny line in isolation.
Dedicated sink repair kits are available for this purpose. Scratch Pro’s stainless steel sink kit, for example, uses sanding materials and diamond buffing compounds and specifically warns that sanding can change the factory finish. Its instructions recommend working in the direction of the grain and explain that large appliance surfaces may require broader treatment for a seamless appearance.
15 Practical Tips for Stainless Steel Sink Scratch Repair
- Empty the sink completely before beginning.
- Remove food residue and mineral deposits.
- Wash with a suitable stainless steel cleaner.
- Dry the sink thoroughly.
- Locate the direction of the brushed finish.
- Look at the scratch from several angles.
- Determine whether it is superficial or deep.
- Start with the least aggressive suitable method.
- Use a dedicated sink repair kit when appropriate.
- Keep abrasive movement parallel with the grain.
- Avoid random circular movements.
- Do not concentrate aggressively on one tiny spot.
- Blend carefully into the surrounding finish.
- Clean away abrasive residue between stages.
- Stop if the repaired area begins looking different from the surrounding metal.
For sinks, the goal is often visual blending rather than making the metal literally untouched again. A controlled repair can make scratches much less noticeable while preserving the overall brushed appearance.
Stainless Steel Scratch Remover for Refrigerators and Appliances
A stainless steel refrigerator scratch remover can be useful for light damage on refrigerator doors, dishwashers, ovens, range hoods, and similar surfaces. However, appliance doors are particularly challenging because they are large, highly visible, and often illuminated from multiple directions. A repair that looks acceptable from one angle can become obvious from another if the grain pattern is inconsistent.
Sub-Zero recommends polishing for certain minor scratches and discoloration but cautions that abrasive products can cause slight discoloration and should be used only where appropriate. The company also notes that deep or large scratches may require a metal refinishing company.
15 Appliance Scratch-Removal Considerations
- Identify the appliance manufacturer.
- Check the owner’s care instructions.
- Determine whether the surface is true stainless steel.
- Check for a fingerprint-resistant coating.
- Avoid assuming black stainless is uncoated metal.
- Clean before attempting repair.
- Photograph the existing finish for comparison.
- Identify the grain direction.
- Test the selected product first.
- Use only the amount recommended by the manufacturer.
- Work with the grain.
- Keep the repair area controlled.
- Inspect under different lighting.
- Avoid expanding a small repair unnecessarily.
- Consider professional refinishing for major visible damage.
GE states that its fingerprint-resistant stainless steel has a clear coat and that heavy or highly visible scratches do not have an approved repair method for covering them.
Best Stainless Steel Scratch Remover Options by Damage Type
There is no single stainless steel scratch remover that is appropriate for every stainless steel surface. A product that works on a traditional brushed sink may be unsuitable for a coated refrigerator door. The phrase best stainless steel scratch remover therefore needs to be interpreted according to the material, scratch depth, finish, and size of the damaged area.
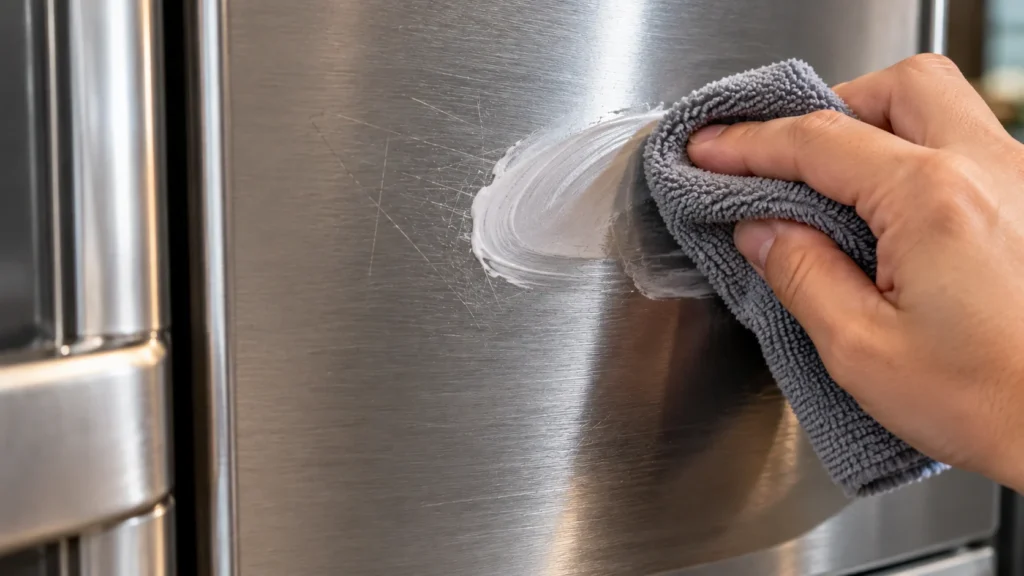
For simple surface maintenance, a stainless steel cleaner and polish may be sufficient. For actual scratches, a dedicated scratch-erasing kit can provide abrasive materials designed for controlled resurfacing. For deep damage, professional refinishing may be safer than attempting increasingly aggressive DIY techniques.
15 Common Stainless Steel Scratch Remover Categories
- Stainless steel cleaner: Best suited to routine dirt and residue.
- Stainless steel polish: Improves shine and can minimize the visual contrast of fine marks.
- Microfiber cloth: Useful for cleaning and polishing without introducing unnecessary abrasion.
- Soft non-abrasive sponge: Suitable for some manufacturer-approved cleaning methods.
- Stainless steel scratch compound: Designed for controlled polishing or blending.
- Scratch-removal kit: Usually combines abrasives, compounds, or pads.
- Wet-sanding kit: Used for more substantial surface repair.
- Diamond buffing compound: Found in some dedicated scratch-repair systems.
- Abrasive finishing pad: Can reproduce or blend a brushed texture when correctly used.
- Mineral-oil finishing treatment: Used by some repair systems after surface blending.
- Stainless steel cleaning wipes: Primarily for maintenance rather than deep scratches.
- Oxalic-acid cleanser: More commonly used for rust, tarnish, and small blemishes rather than deep scratches.
- Manufacturer-approved polish: Appropriate when the appliance brand specifies a particular product.
- Professional metal refinishing: Suitable for large or deep cosmetic damage.
- Replacement panel or part: Sometimes necessary when damage is severe or the finish cannot safely be restored.
GE’s care guidance, for example, distinguishes between cleaning products and actual visible scratch repair, while its Scratch-B-Gone kit was specifically intended for brushed stainless steel surfaces.
Stainless Steel Scratch Remover Kits
A stainless steel scratch remover kit can be more practical than assembling unrelated sandpapers, pads, and compounds because a dedicated kit is normally designed around a particular repair process. Rejuvenate’s Stainless Steel Scratch Eraser Kit is marketed for stainless steel sinks, refrigerators, stoves, ovens, hoods, dishwashers, and grills. Its current Home Depot listing also states that the kit is intended for uncoated, natural stainless steel rather than black or colored finishes.
GE’s Scratch-B-Gone kit is another example of a dedicated system, although GE currently identifies that particular model as no longer being manufactured. It was marketed for brushed stainless steel appliances, grills, and sinks.
A kit does not eliminate the need for technique. Abrasive repair can alter the factory texture, and poor grain alignment can make the repair more noticeable than the original scratch.
3M Stainless Steel Scratch Remover and Abrasive Products
The keyword 3M stainless steel scratch remover can refer to different 3M abrasive or cleaning products rather than one universal household scratch-removal solution. 3M manufactures a broad range of abrasive materials for metal finishing, including products intended for industrial stainless steel and aluminum work. These products can be substantially more aggressive than ordinary household stainless steel cleaners.
For routine household cleaning, 3M also sells stainless steel cleaning cloths designed to remove fingerprints and smudges without chemicals or water. That type of product should not be confused with a heavy-duty metal-finishing abrasive.
When considering any 3M abrasive for a household appliance, match the product to the manufacturer’s intended application and the appliance’s finish. An industrial abrasive can change a decorative surface very quickly if used incorrectly.
Bar Keepers Friend Stainless Steel Scratch Remover
Bar Keepers Friend is frequently associated with stainless steel care, but its different products serve different purposes. Its Stainless Steel Cleaner & Polish is designed to remove fingerprints, grease, water spots, and residue without scratching or dulling the surface. Its Soft Cleanser contains oxalic acid and an abrasive component and is marketed for stainless steel along with other hard surfaces.
GE also identifies oxalic-acid cleaners such as Bar Keepers Friend Soft Cleanser as an option for rust, tarnish, and small blemishes on certain stainless steel appliances, with instructions to use the liquid cleanser and rub in the direction of the grain. GE separately warns against steel wool, harsh abrasives, acids, and other products for general appliance cleaning, so the appliance’s specific instructions should always be checked.
This distinction matters because removing a stain is not the same as removing a scratch. A cleaner can make the metal look substantially better without physically repairing a deep groove.
DIY Stainless Steel Scratch Removal Without a Commercial Kit
Some homeowners search for a stainless steel scratch remover that can be made from household products. Mild cleaning approaches can help with surface residue that looks like a scratch, but true scratches are physical changes to the finish. Vinegar, baking soda, or toothpaste should therefore not automatically be considered universal scratch removers.
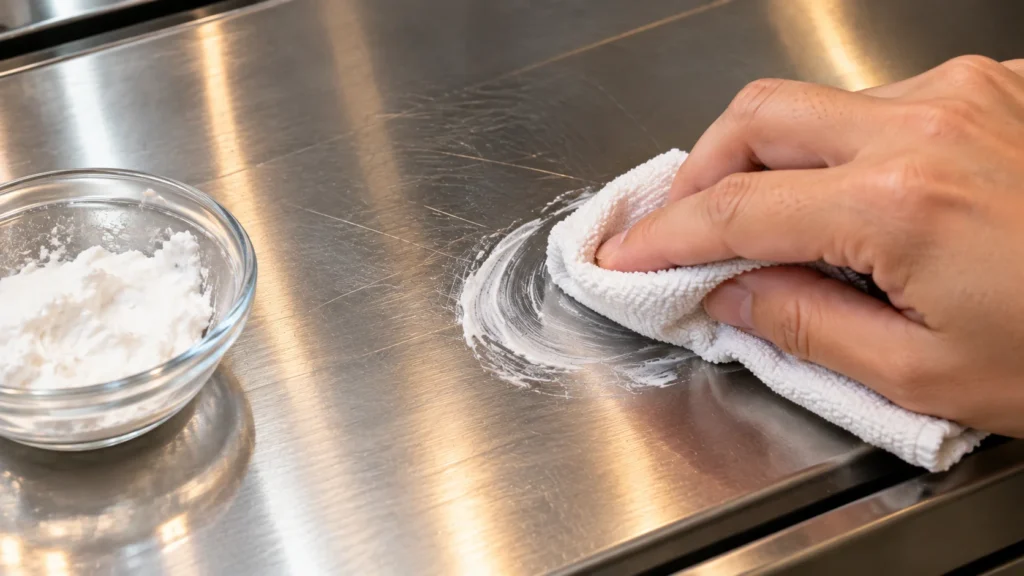
THOR Kitchen discusses whitening toothpaste or a baking-soda paste as alternatives for some light scratches, while emphasizing grain direction and careful application. However, manufacturer-specific instructions should take precedence, particularly for coated appliances.
15 DIY Precautions
- Clean the surface before diagnosing the scratch.
- Confirm that the mark is actually a scratch.
- Do not use a household recipe automatically on a coated appliance.
- Avoid coarse kitchen scouring pads.
- Avoid steel wool unless the manufacturer specifically permits it.
- Never rub against the grain.
- Do not use excessive pressure.
- Test any homemade paste first.
- Use a soft cloth for mild cleaning.
- Keep abrasive particles away from undamaged areas.
- Rinse residue thoroughly where the product instructions require it.
- Dry the metal after cleaning.
- Compare the test area under different lighting.
- Stop if discoloration develops.
- Move to a professional solution if the scratch is deep or widespread.
The objective of DIY treatment should be controlled improvement, not aggressive removal at any cost.
Coated and Black Stainless Steel Scratch Remover
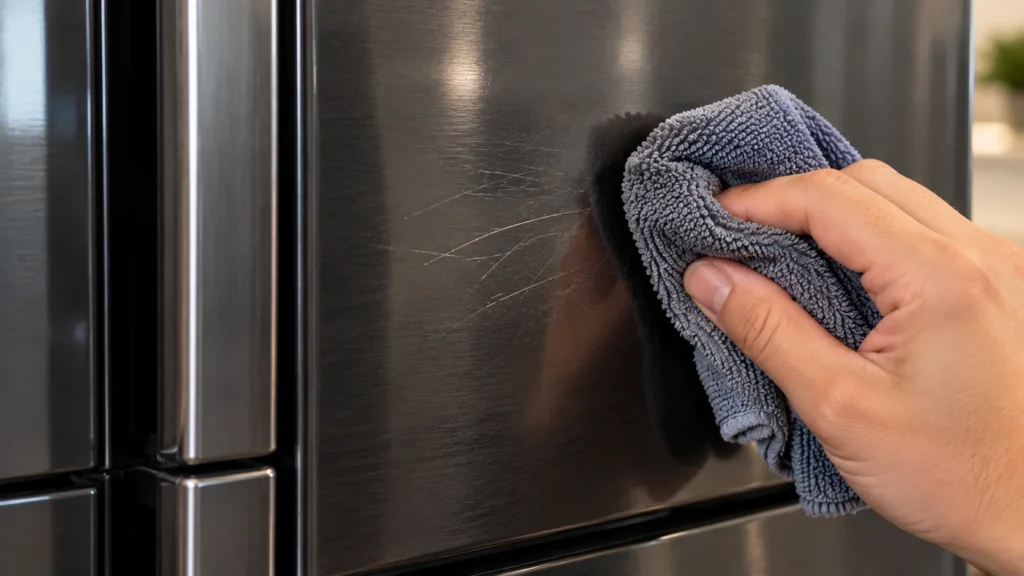
Coated stainless steel scratch remover requires a completely different level of caution because the visible finish may not be bare stainless steel. Fingerprint-resistant stainless steel can use a clear coating, while black stainless products may use a decorative surface treatment. Abrasive sanding or polishing can remove that finish and expose a different layer underneath.
GE specifically states that its fingerprint-resistant stainless steel uses a clear coat and warns that its stainless scratch repair products should not be assumed suitable for black stainless. Rejuvenate similarly states that its scratch-erasing kit is intended for uncoated natural stainless steel.
15 Coated-Finish Safety Rules
- Check the appliance model number.
- Read the owner’s manual.
- Identify whether the surface is coated.
- Do not assume a stainless appearance means bare stainless.
- Avoid sanding unknown finishes.
- Avoid steel wool.
- Avoid aggressive polishing compounds.
- Do not use a generic scratch kit without checking compatibility.
- Test only when the manufacturer permits testing.
- Avoid removing the decorative coating.
- Contact the manufacturer for unusual finishes.
- Photograph the damage before treatment.
- Consider replacement parts for severe cosmetic damage.
- Use manufacturer-approved cleaning methods.
- Seek professional refinishing when necessary.
For a coated surface, preventing further damage is often more important than experimenting with a generic scratch-removal method.
Stainless Steel Watch and Jewelry Scratch Remover
The keyword stainless steel watch scratch remover refers to a different repair situation from kitchen appliances. Watches and jewelry can use highly polished, brushed, bead-blasted, or mixed finishes on the same piece. A scratch-removal technique that works on a flat kitchen sink can destroy the contrast between polished and brushed sections of a watch bracelet.
For watches and jewelry, professional refinishing is often preferable when the piece has multiple surface textures or a valuable finish. DIY abrasives can round sharp edges, change the geometry of links, or create an inconsistent brushed pattern. The safest method is to identify the exact metal and finish and follow the watch or jewelry manufacturer’s service recommendations.
Before and After Stainless Steel Scratch Remover Results
Before-and-after photographs can be useful when evaluating scratch-removal methods, but they should be interpreted carefully. Lighting, camera angle, polish residue, and surface orientation can dramatically change how visible a scratch appears. A repaired stainless steel surface may also look different from the original because the grain has been blended rather than perfectly restored.
A good before-and-after comparison should use the same lighting, camera position, surface cleanliness, and viewing angle. It should also show whether the repair was performed on a sink, refrigerator, stove, or another type of stainless steel. Large repairs should be judged from multiple directions because directional grain can reflect light differently.
15 Things to Compare in Before-and-After Results
- Scratch visibility from straight ahead.
- Scratch visibility from an angle.
- Grain alignment.
- Overall color.
- Surface gloss.
- Brushed texture.
- Repair-area boundaries.
- Remaining discoloration.
- Residual polishing marks.
- Changes in reflection.
- Uniformity across the repaired section.
- Visibility under bright lighting.
- Visibility under kitchen lighting.
- Condition after cleaning.
- Whether the result remains consistent after several days.
A successful repair should not simply hide a scratch in one photograph; it should produce a reasonably consistent appearance across normal viewing conditions.
Jump into Other Related Article
- How to Clean Stainless Steel Sink | Stains, Hard Water, Rust & Scratches
- How to Remove Coffee Stains | Easy Methods for Clothes, Teeth, Carpet & More
- How to Remove Ink Stains from Clothes, Fabric, Leather & More
How to Prevent New Stainless Steel Scratches
Preventing scratches is easier than repairing them because stainless steel finishes can be difficult to reproduce perfectly. Everyday cleaning habits have a major effect on whether a surface develops new marks. Abrasive pads, harsh chemicals, and incorrect wiping directions can gradually damage a finish even when no major accident occurs.
Sub-Zero and THOR Kitchen both emphasize following the natural grain when cleaning stainless steel. GE also warns against steel wool and abrasive products for general appliance care.
15 Ways to Reduce Stainless Steel Scratches
- Use soft microfiber cloths for routine cleaning.
- Follow the natural grain.
- Avoid abrasive green scouring pads.
- Avoid steel wool unless specifically approved.
- Remove gritty debris before wiping.
- Do not drag metal containers across sinks.
- Use sink grids where appropriate.
- Avoid placing sharp objects directly on stainless surfaces.
- Wipe spills rather than aggressively scrubbing them.
- Use manufacturer-approved cleaners.
- Avoid harsh chlorine products when the manufacturer warns against them.
- Do not use excessive pressure.
- Dry surfaces after cleaning when recommended.
- Store abrasive cleaning tools away from appliance surfaces.
- Check the manufacturer’s instructions before trying a new cleaning product.
Regular gentle maintenance can prevent a small cosmetic issue from becoming a large refinishing project.
Stainless Steel Scratch Remover Comparison Guide
| Scratch or Surface Problem | Suitable Approach | Main Caution |
| Fingerprints | Stainless steel cleaner/polish | Follow grain |
| Water spots | Stainless steel cleaner/polish | Avoid harsh scrubbing |
| Very fine hairline marks | Suitable polish or manufacturer-approved method | Test first |
| Light scratches | Dedicated scratch remover | Work with grain |
| Brushed sink scratches | Stainless steel sink repair kit | Finish can change |
| Deep sink scratches | Controlled abrasive repair or professional service | Blending is difficult |
| Refrigerator scratches | Manufacturer-approved method | Large panels show uneven repairs |
| Rust/tarnish | Appropriate stainless cleaner | Follow appliance instructions |
| Black stainless | Manufacturer-specific care | Coating may be damaged |
| Fingerprint-resistant stainless | Manufacturer-approved cleaning | Clear coating may be present |
| Large/deep scratches | Professional refinishing | DIY may worsen appearance |
| Watch scratches | Professional watch refinishing | Mixed finishes are difficult |
| Routine appliance maintenance | Microfiber + approved cleaner | Avoid abrasives |
Common Stainless Steel Scratch Remover Mistakes
The biggest mistakes usually happen when people treat stainless steel like ordinary bare metal. A scratch-removal method can permanently change the appearance if the abrasive is too aggressive or the grain direction is ignored. Another common problem is using a product designed for traditional stainless steel on a coated or decorative finish.
15 Mistakes to Avoid
- Scrubbing across the grain.
- Using circular motions on a brushed surface.
- Starting with the strongest abrasive.
- Skipping the cleaning step.
- Ignoring the appliance manual.
- Using steel wool without approval.
- Treating black stainless as bare stainless.
- Using a generic kit on a coated refrigerator.
- Repairing only one tiny area without considering grain blending.
- Applying too much pressure.
- Using industrial abrasives without understanding their aggressiveness.
- Expecting polish to remove deep grooves.
- Failing to test an unfamiliar product.
- Continuing after discoloration appears.
- Attempting major refinishing without the necessary skill.
GE, Sub-Zero, and dedicated repair-kit manufacturers all emphasize finish compatibility and grain direction, although their recommendations differ by appliance and product.
When Professional Stainless Steel Scratch Repair Makes Sense
Professional repair becomes more appropriate when a scratch is deep, covers a large area, crosses a visible grain pattern, or appears on an expensive appliance. Large refrigerator doors are particularly difficult because the entire panel may need consistent finishing to make a repair blend naturally. Sub-Zero specifically notes that deep or large scratches may require a metal refinishing company.
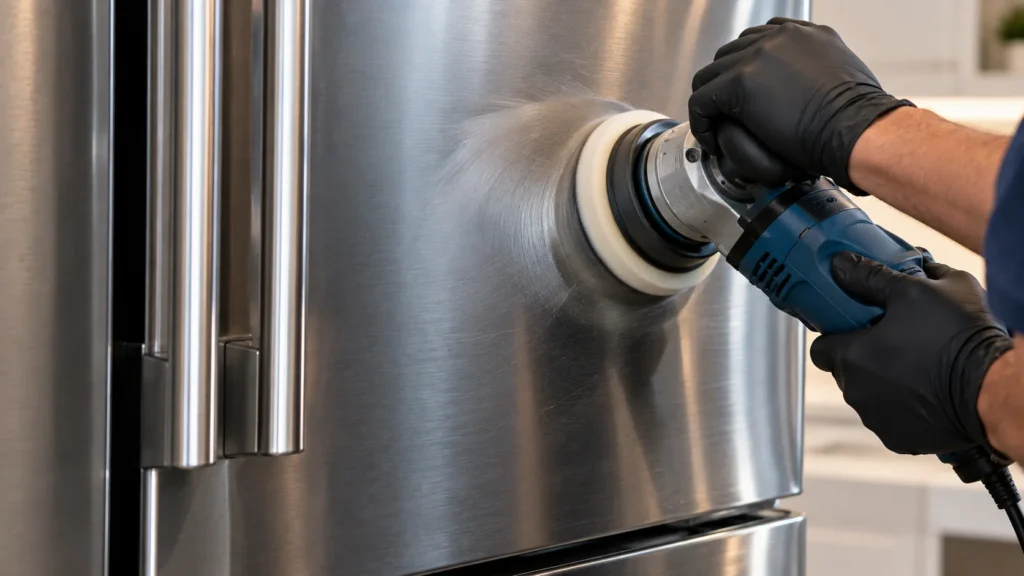
Professional help is also sensible when the appliance has a coated finish that you cannot confidently identify. Removing a coating may create a larger cosmetic problem than the original scratch. In some cases, replacing a damaged panel may be the manufacturer’s preferred solution.
A professional can also reproduce or blend a directional brushed finish more consistently than a small hand-held abrasive pad.
Final Stainless Steel Scratch Remover Selection Guide
Choosing a stainless steel scratch remover starts with identifying the surface rather than choosing a product based only on its popularity. For routine fingerprints and water spots, a stainless steel cleaner and polish may be enough. For genuine light scratches on uncoated brushed stainless steel, a dedicated scratch-removal product or kit can be considered. For coated, black, fingerprint-resistant, or specialty finishes, manufacturer-specific instructions should come first.
For sinks, dedicated stainless steel repair kits can provide abrasives and polishing compounds intended for brushed surfaces. For large appliance panels, however, aggressive spot repairs can create visible differences in texture. Deep scratches, extensive damage, and expensive appliances may justify professional refinishing instead of repeated DIY attempts.
The most reliable approach is therefore to clean first, identify the finish, follow the grain, start with the least aggressive suitable method, test before expanding the repair, and stop when the finish begins changing unexpectedly.
Conclusion
A stainless steel scratch remover can make many scratches less noticeable, but the correct technique is just as important as the product. Light marks may respond to careful polishing or an appropriate stainless steel repair compound, while deeper scratches may require an abrasive repair kit or professional refinishing. Stainless steel sinks, refrigerators, stoves, dishwashers, and other appliances can have different finishes, so one universal method does not work for every surface.
Always clean the metal first and determine the direction of the grain before attempting repair. Never assume that black stainless steel, fingerprint-resistant stainless steel, or coated appliance finishes can be treated like traditional uncoated stainless steel. Manufacturer guidance from GE and Sub-Zero demonstrates why finish compatibility matters, while dedicated products such as sink repair kits show that controlled abrasive techniques can be used when the surface is suitable.
With the right product, controlled pressure, correct grain direction, and realistic expectations, many everyday stainless steel scratches can be significantly reduced without replacing the entire appliance or sink.
What is the best stainless steel scratch remover?
The appropriate option depends on the surface and scratch depth. A stainless steel polish is mainly intended for cleaning and appearance improvement, while dedicated scratch-removal kits use abrasives to blend physical scratches. For coated or black stainless steel, follow the appliance manufacturer’s instructions rather than choosing a generic scratch kit.
Can stainless steel scratches really be removed?
Light scratches can often be reduced or blended, while deeper scratches may require more extensive resurfacing. The result depends on the depth, grain pattern, finish, and repair technique.
What removes scratches from a stainless steel sink?
A dedicated stainless steel sink repair kit can be used on suitable uncoated brushed stainless steel. These kits may include abrasive pads and polishing compounds designed to work with the existing grain.
Can Bar Keepers Friend remove stainless steel scratches?
Bar Keepers Friend products are commonly used for stainless steel cleaning, rust, tarnish, and small blemishes. Some formulations are abrasive, so they should be used according to the product and appliance instructions rather than treated as a universal deep-scratch repair product.
Can baking soda remove scratches from stainless steel?
Baking soda can be used in some DIY cleaning approaches, and THOR Kitchen discusses a baking-soda paste as an option for certain light scratches. It should be used carefully and only when compatible with the specific stainless steel finish.
Can toothpaste remove stainless steel scratches?
Some DIY guidance suggests whitening toothpaste for very light surface marks, but toothpaste is not a universal stainless steel repair product. A manufacturer-approved cleaner or dedicated scratch-removal product provides a more controlled approach.
Can scratches be removed from a stainless steel refrigerator?
Light scratches may sometimes be reduced, but refrigerator doors require particular care because large panels make uneven grain patterns easy to see. Coated and fingerprint-resistant models may not be suitable for abrasive scratch-removal methods.
Can black stainless steel be sanded to remove scratches?
Black stainless steel should not automatically be sanded because the dark appearance may come from a coating or decorative finish. Abrasive treatment can remove that layer and make the damage worse.
Should stainless steel scratches be rubbed with the grain?
Yes. Working with the existing grain is a fundamental part of stainless steel cleaning and scratch repair. Rubbing across the grain can create visible lines and make the repair stand out.
When should a professional repair stainless steel scratches?
Professional repair is worth considering when scratches are deep, widespread, located on a highly visible appliance panel, or present on a specialty coated finish. Sub-Zero specifically notes that deep or large scratches may require a metal refinishing company.